Experiments in Eco-Processing
Blog 2018 March
March 8, 2018
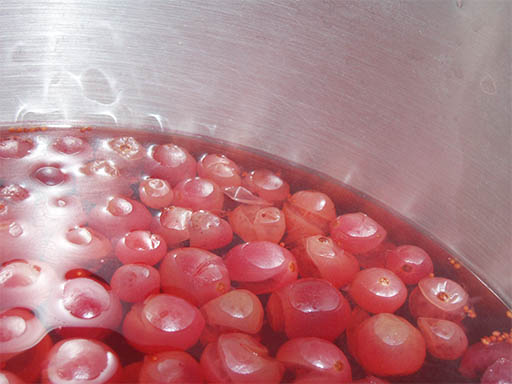
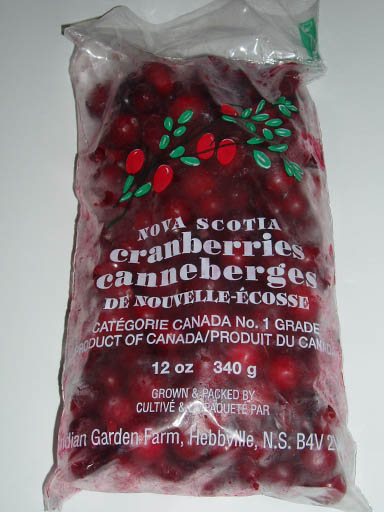
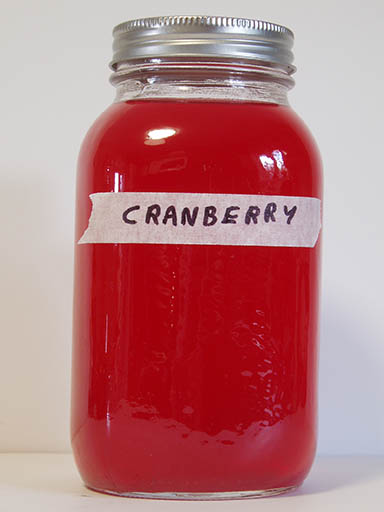
Cranberry
Cranberry’s grow wild in more boggier areas of Nova Scotia. Cranberries are ready to be harvested in the fall but luckily the farmers market still had a few frozen packages available. To make the cranberry tea I boiled 12oz of cranberries in four litres of water.
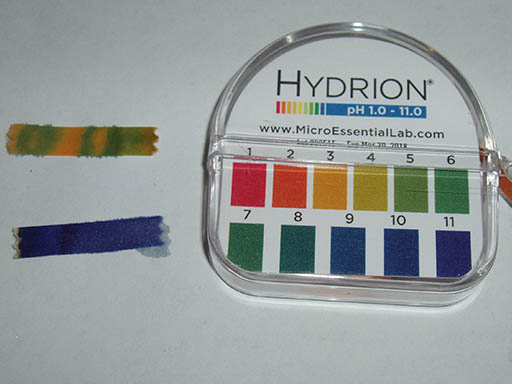
The first pH reading of the cranberry tea was a little strange. After adding the washing soda and vitamin C pH levels became more the norm for a developer.
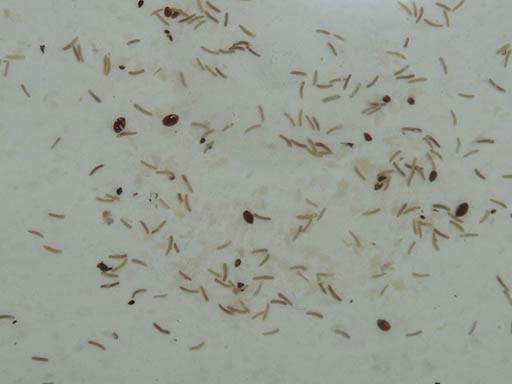
After the second wash I ended up rinsing out seeds and other cranberry paraphernalia.
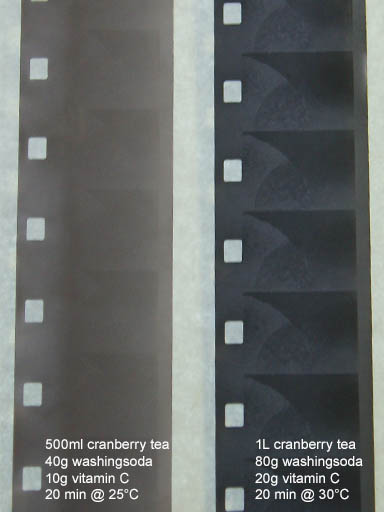
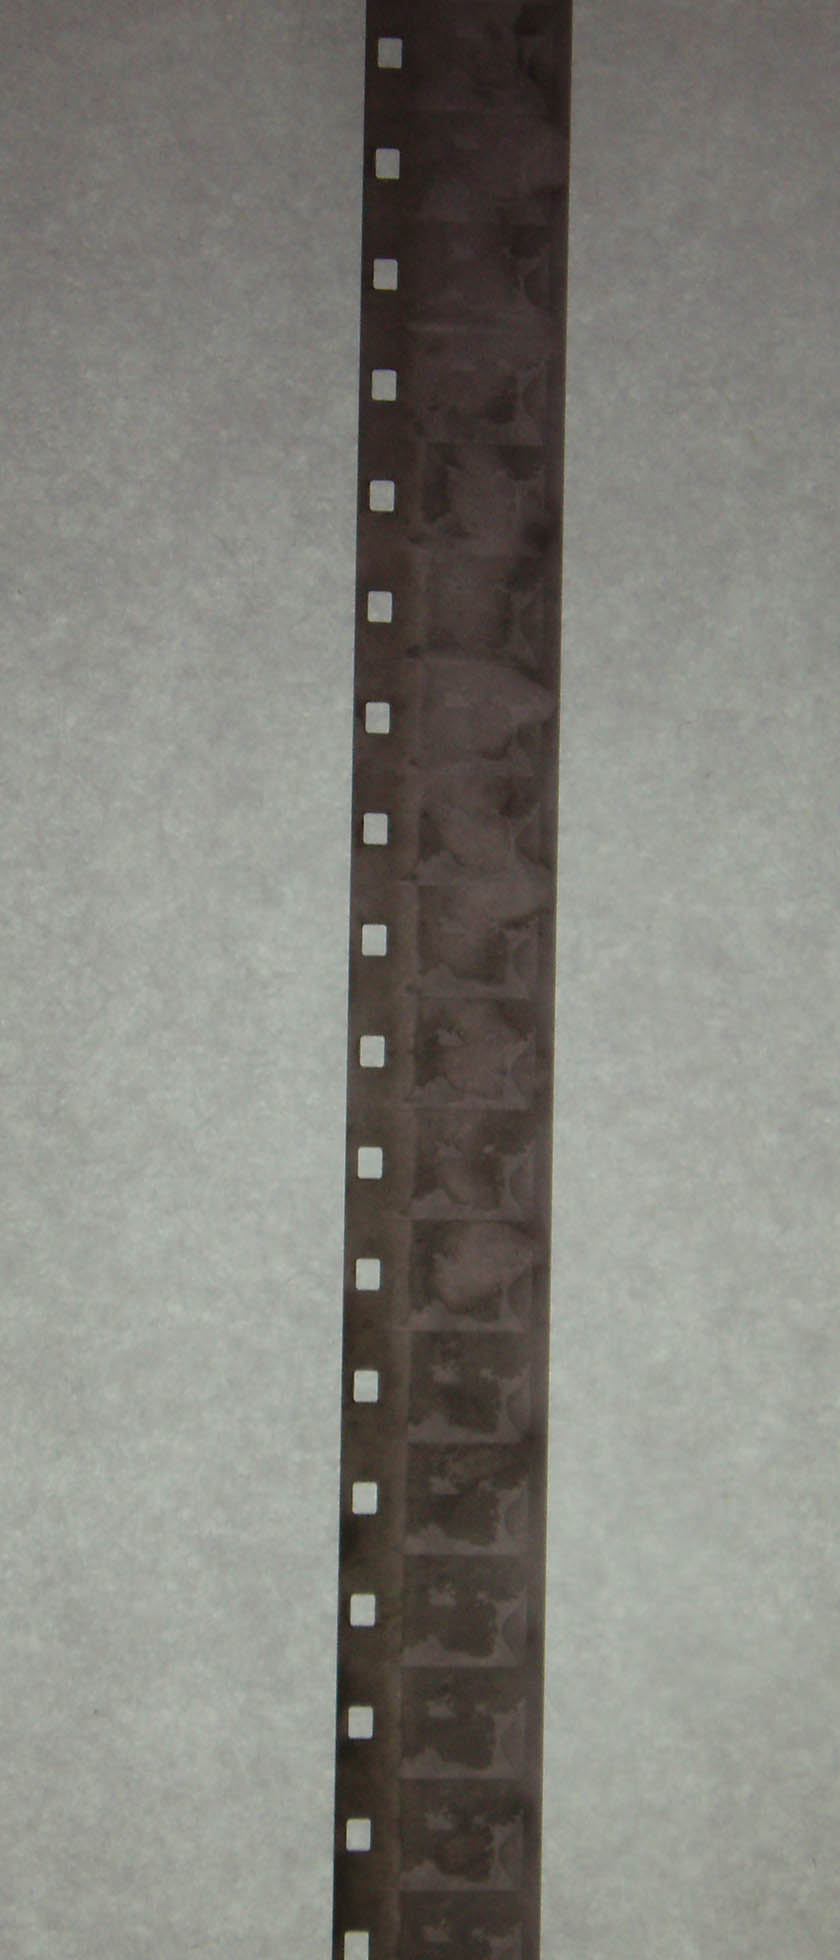
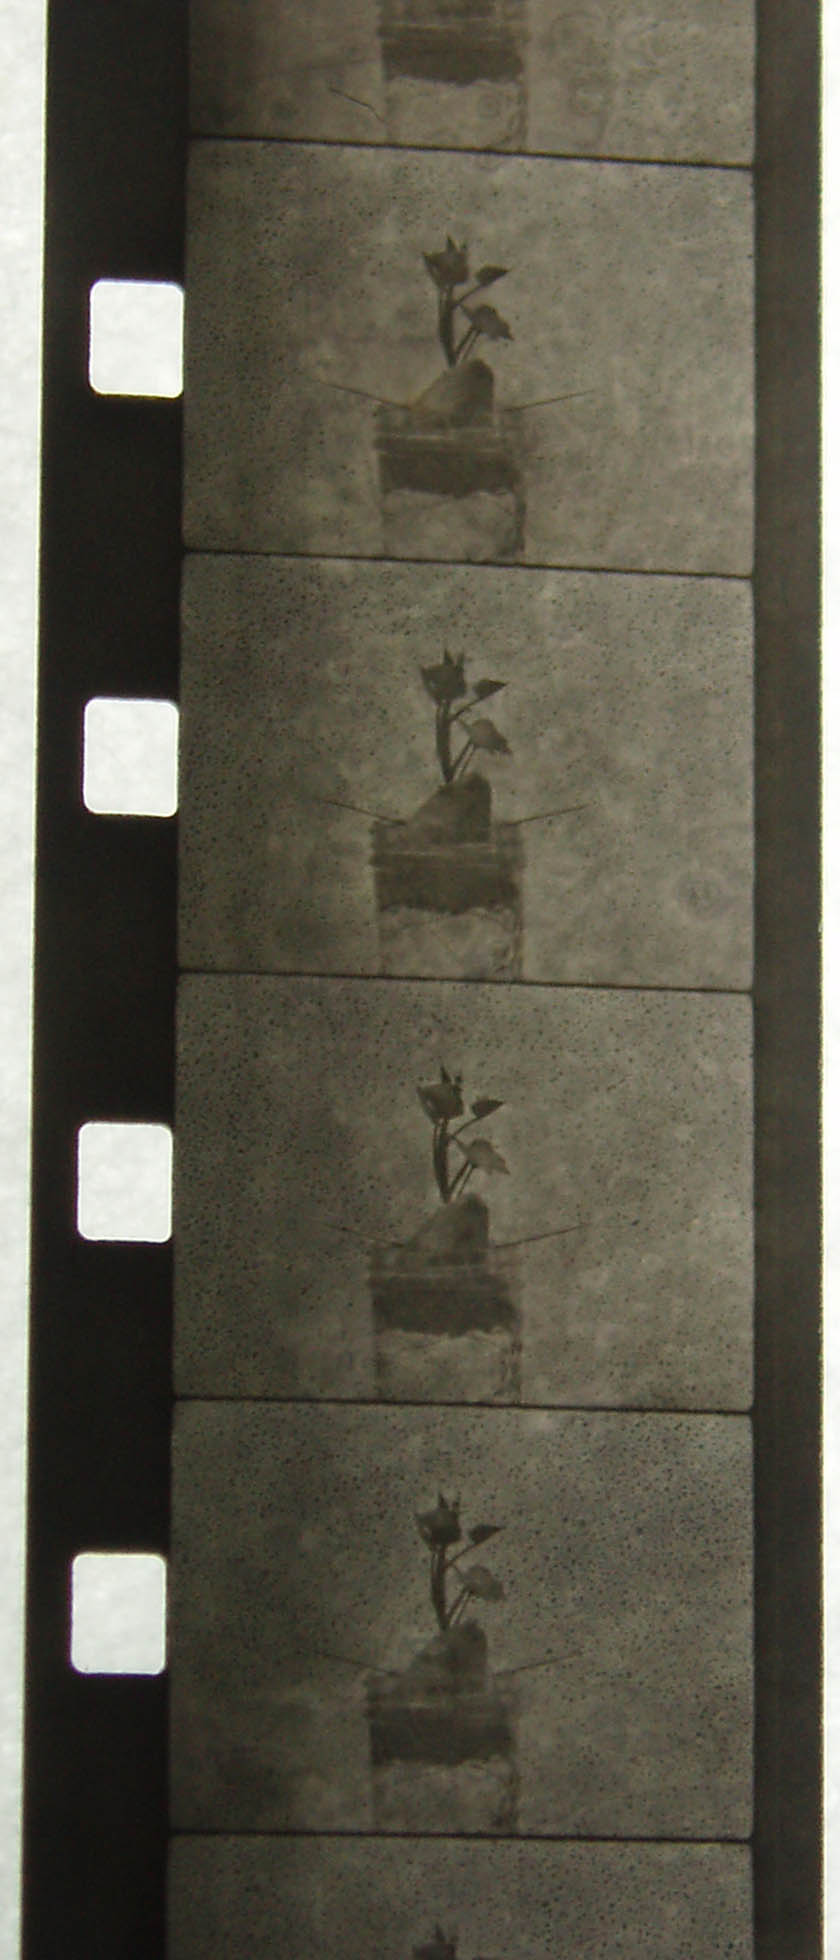
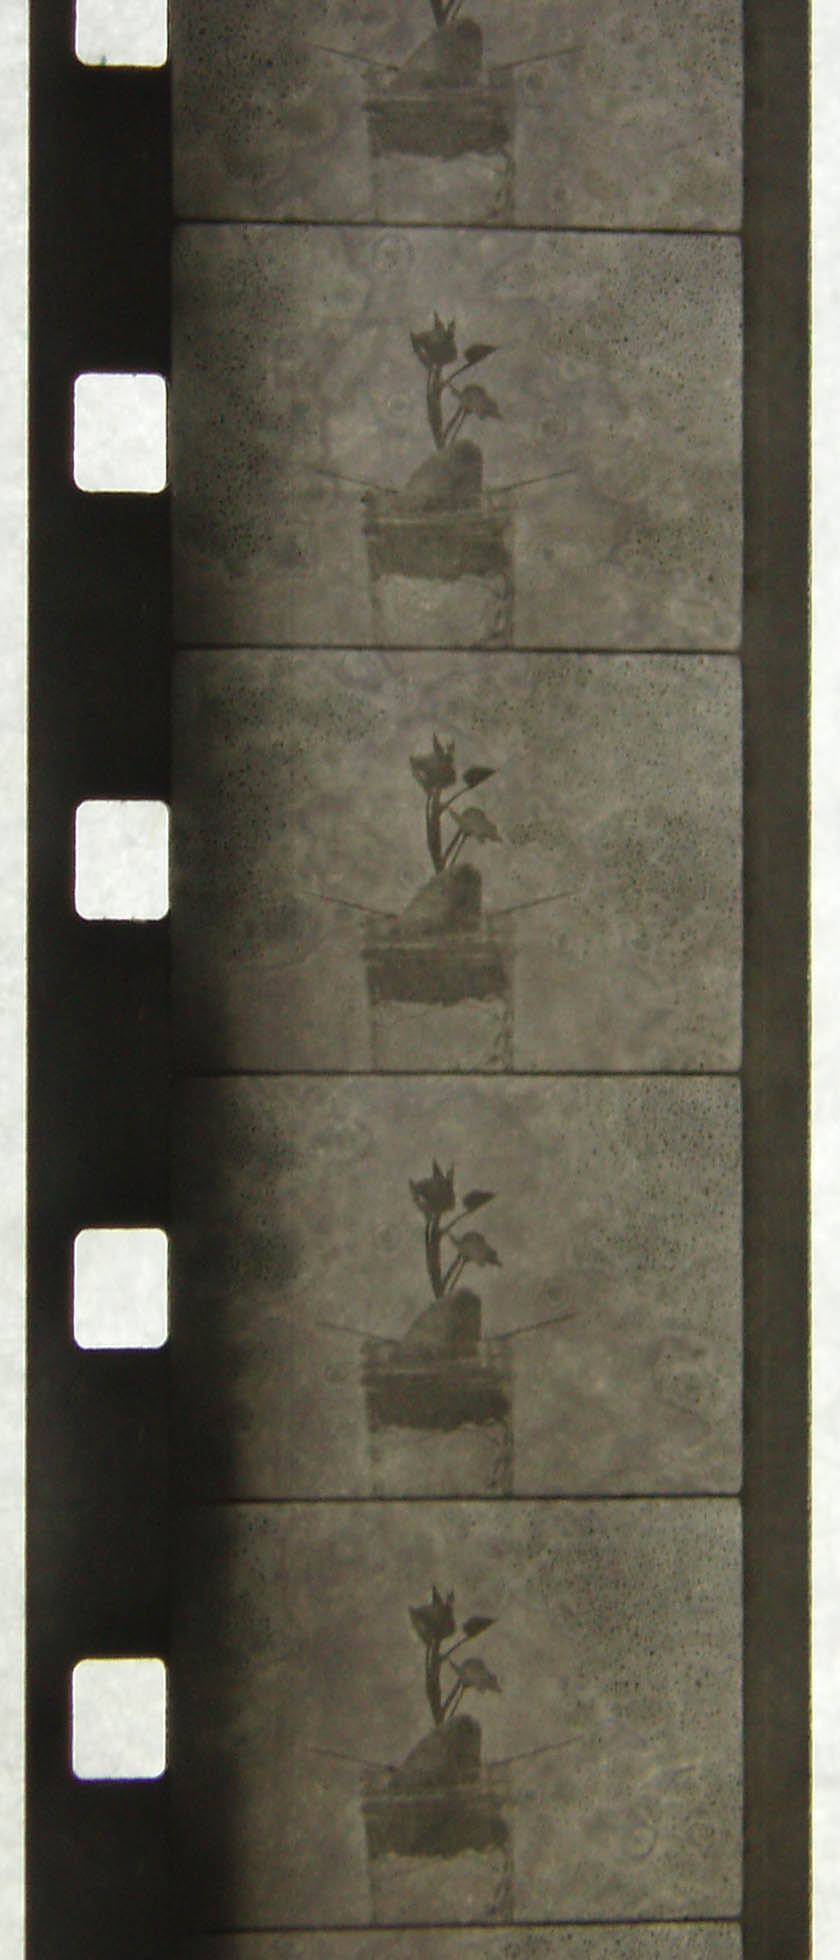
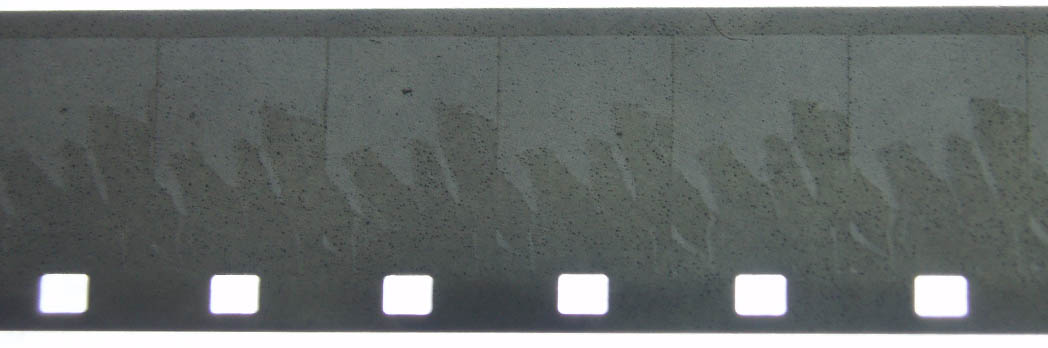
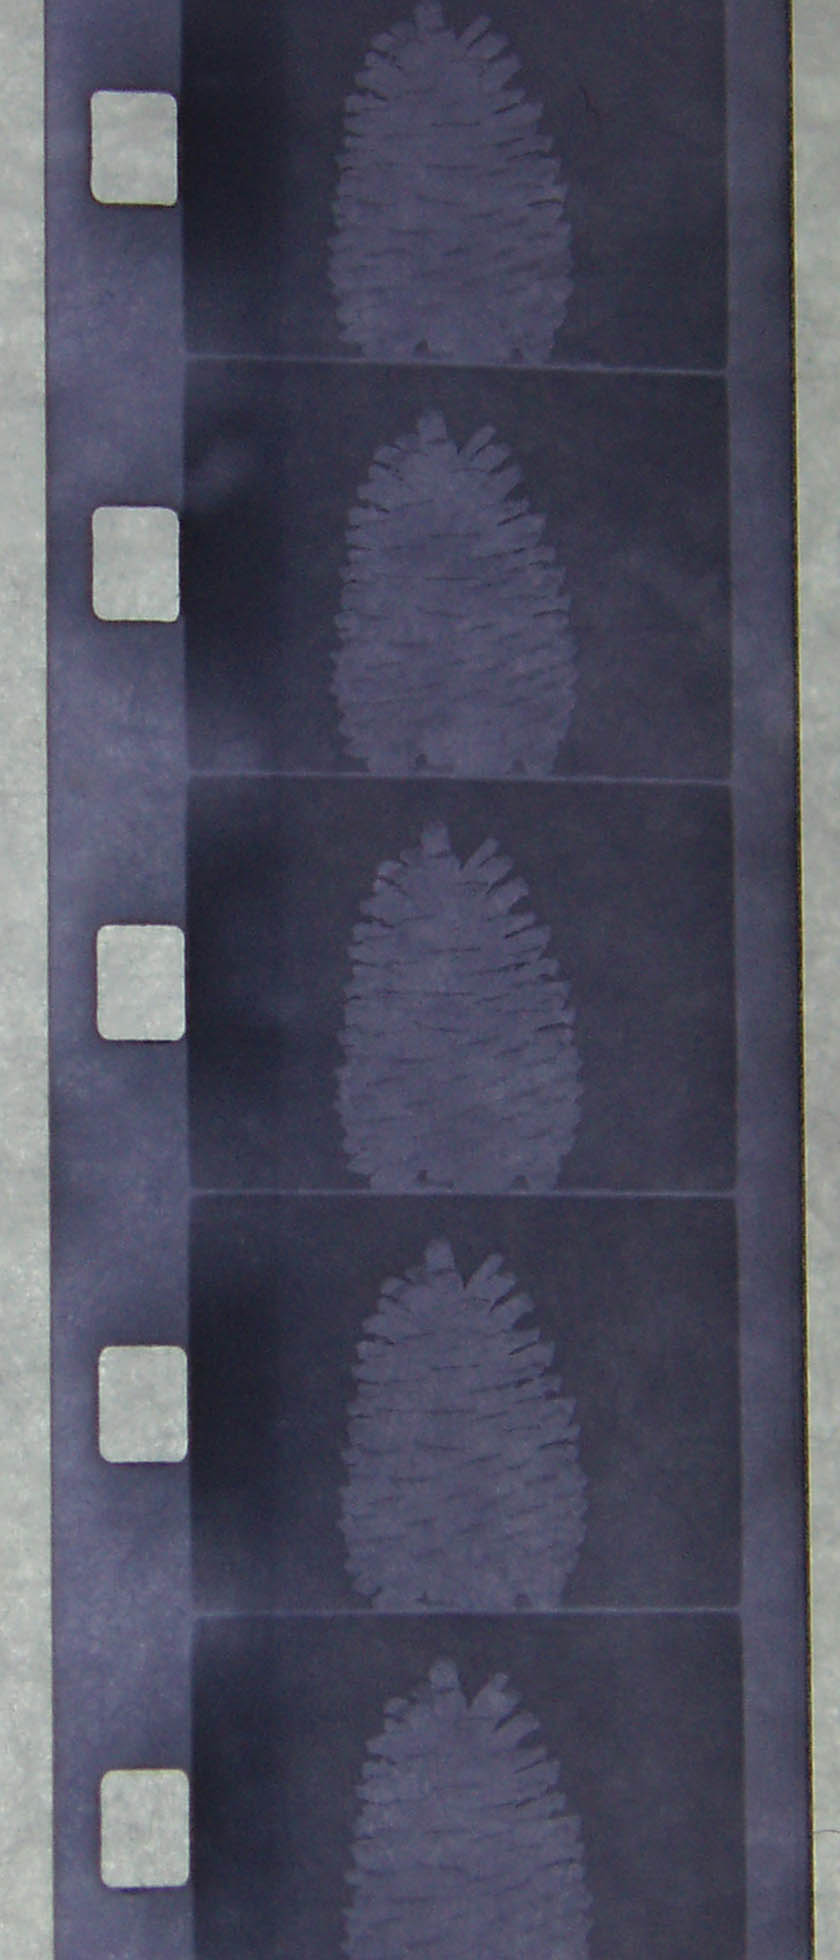
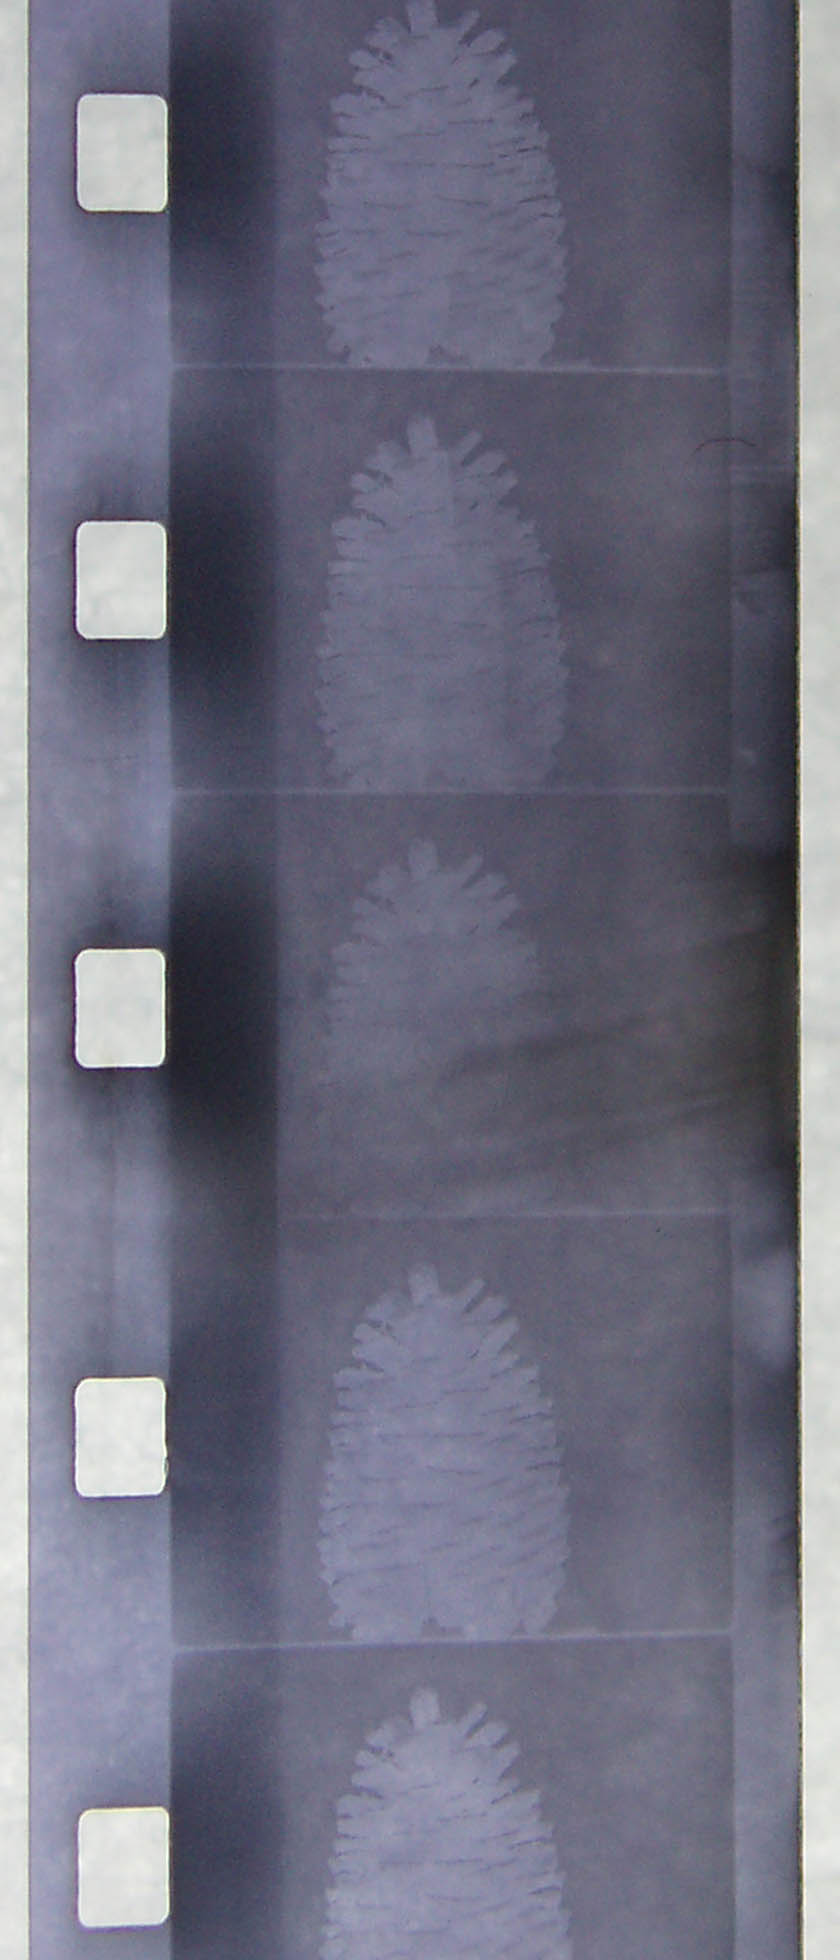
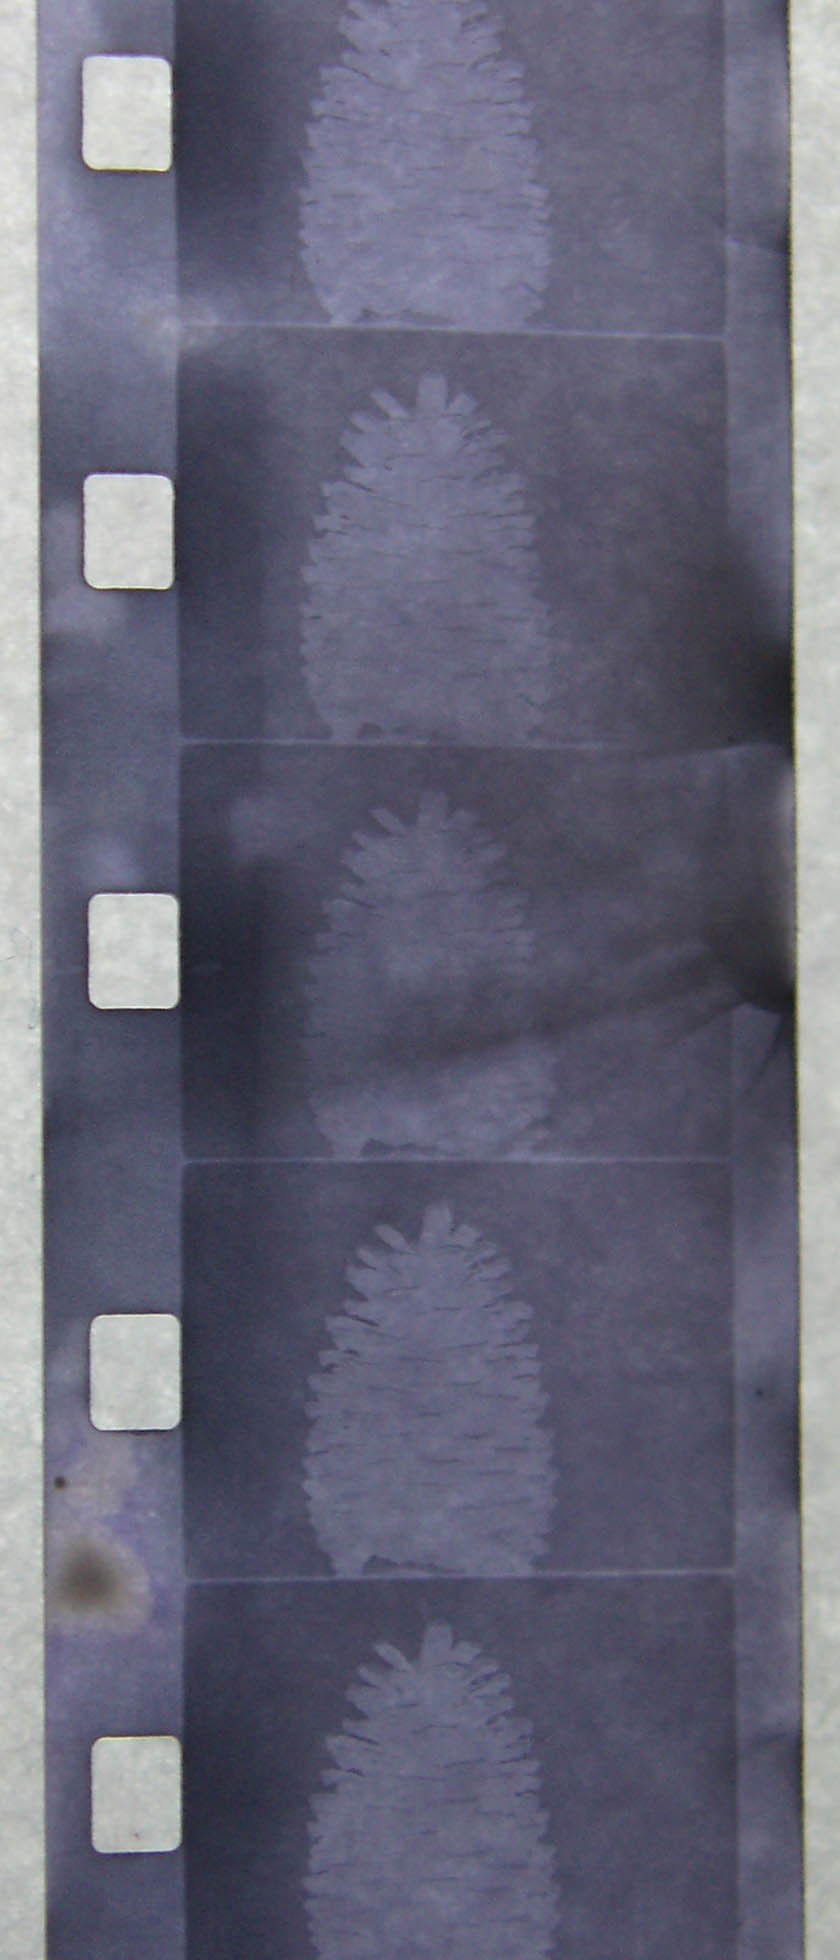
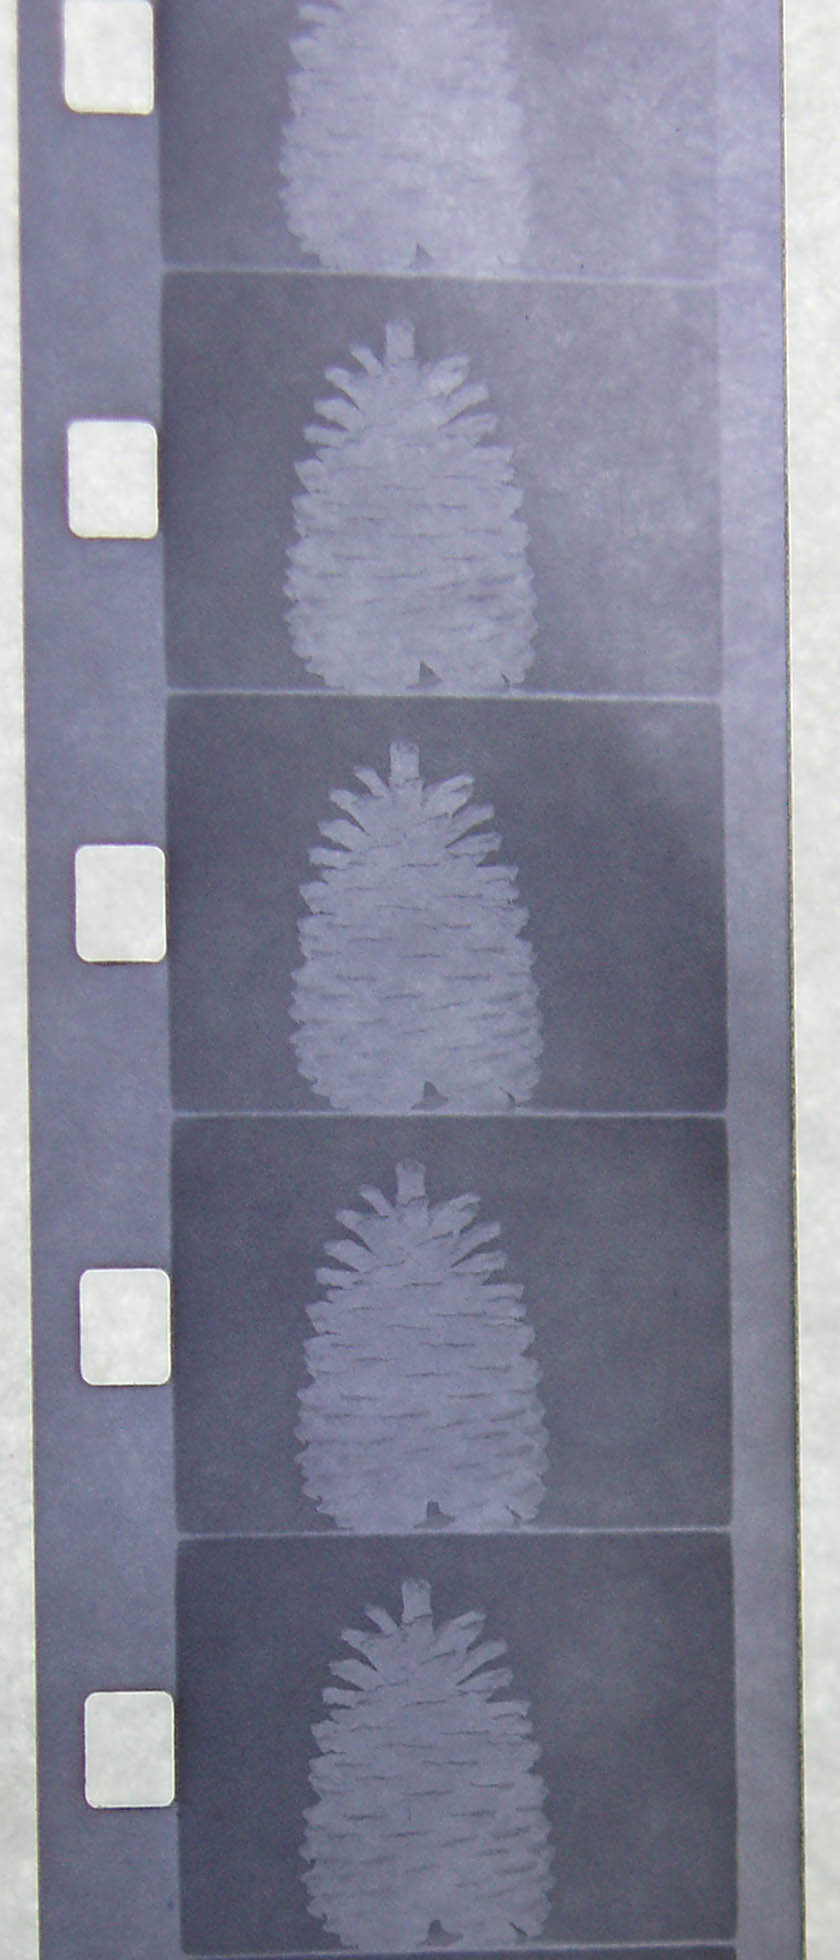
Four cranberry tests. Comparing these tests results show the affects temperature and ingredient quantities have on each developer.
Onto the reversal.
What I wanted to test with this experiment was, to see what the second developer would do (also known as Dev. 2)
These next tests were all done with:
1L cranberry tea
100g washing soda
20g vitamin C
A fresh batch of developer was made each time though I reused the developer from Dev.1 for Dev.2
I used the warming bucket to heat up Dev.2
I used a reversal of:
220ml 35% H2O2
700ml H2O (water)
80ml of 5% acetic acid (vinegar)
This test was done with:
Dev 1 for 20 min @ 40°C
Dev 2 for 5 min @ 38°C
A little dense but the image did reverse, there is also some interesting bubbles and spots.
In this test I extended the second developer:
Dev 1 for 20 min @ 40°C
Dev 2 for 10 min @ 38°C
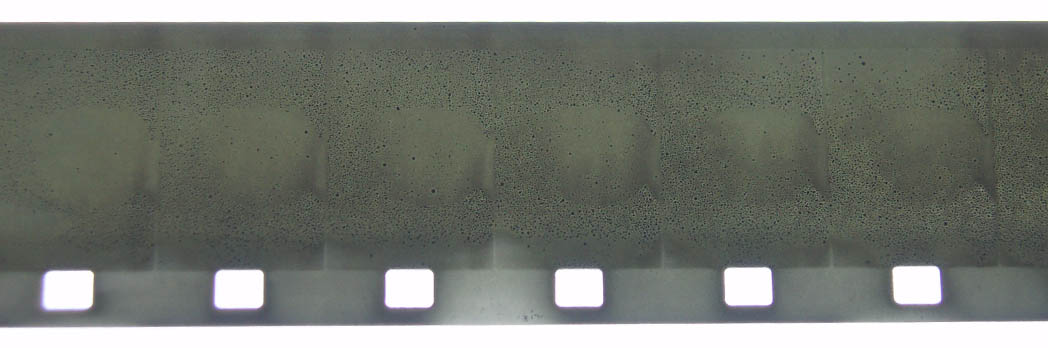
This provided a much denser image, almost all of this test was too dark to photograph. There was a small salvageable image that was located on the far outside of the lomo tank. So, obviously this means that Dev2 went on for WAY too long, but why the difference from the inner part of the lomo reel to the outer part of the reel. Does the image get burnt when the chemistry is poured through the top of the tank? Am I pouring the chemistry too quickly and it’s burning the inner film? Does more agitation occur closer to the centre of the reel and then overdevelop the image?
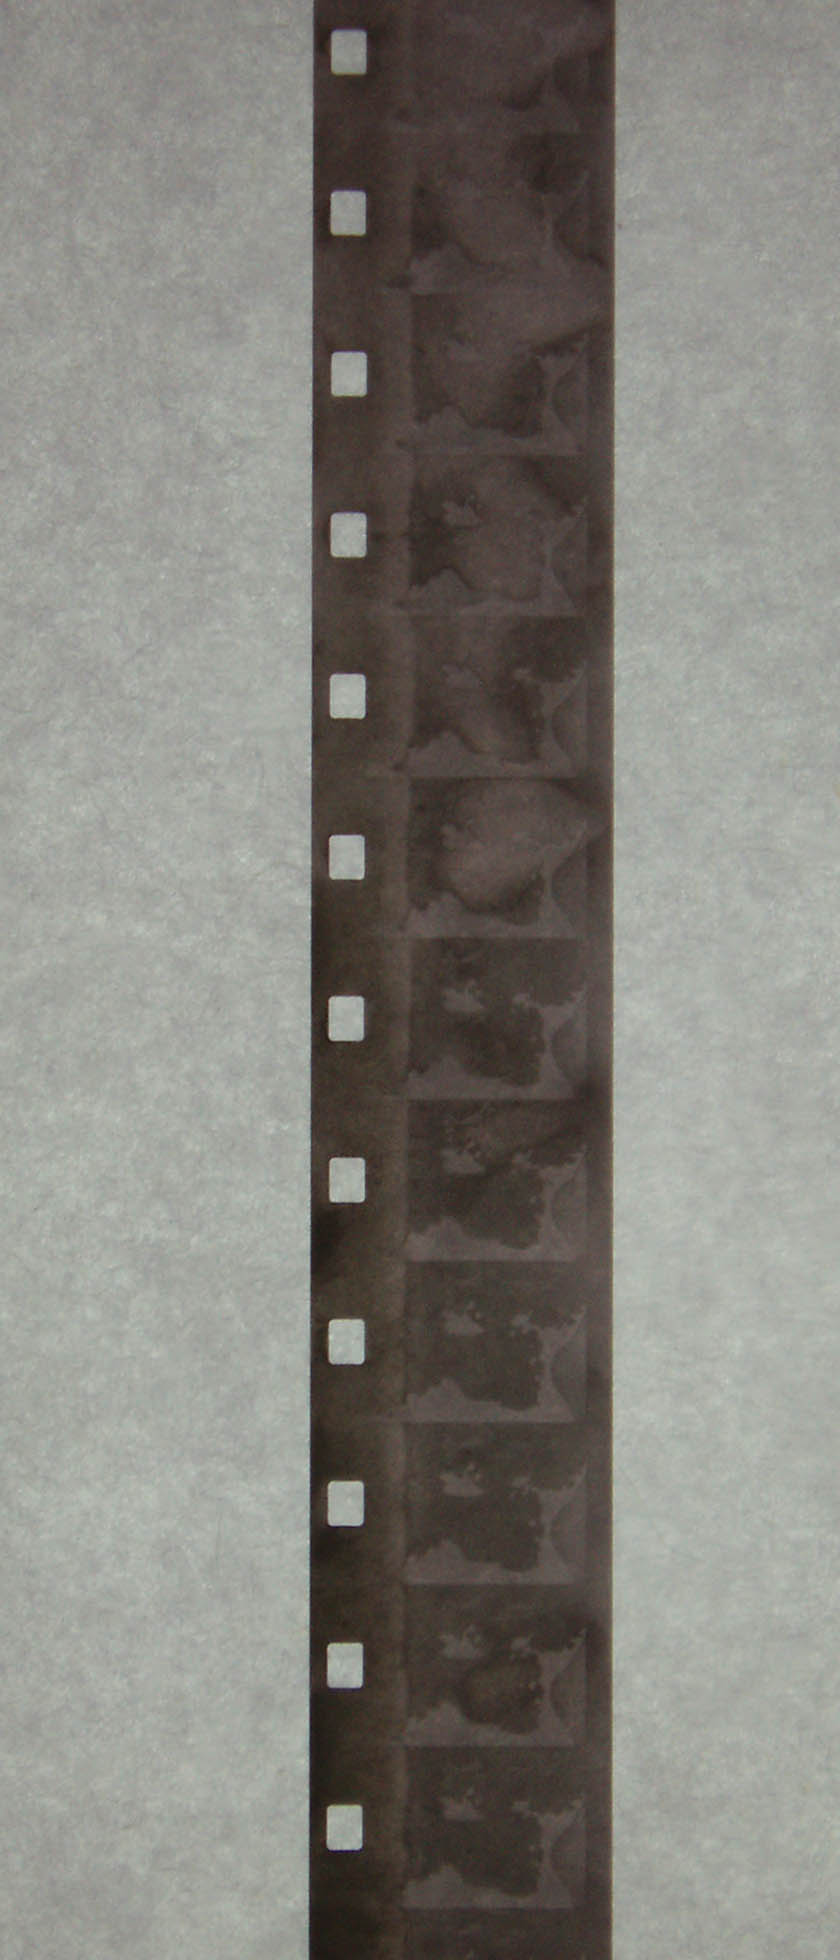
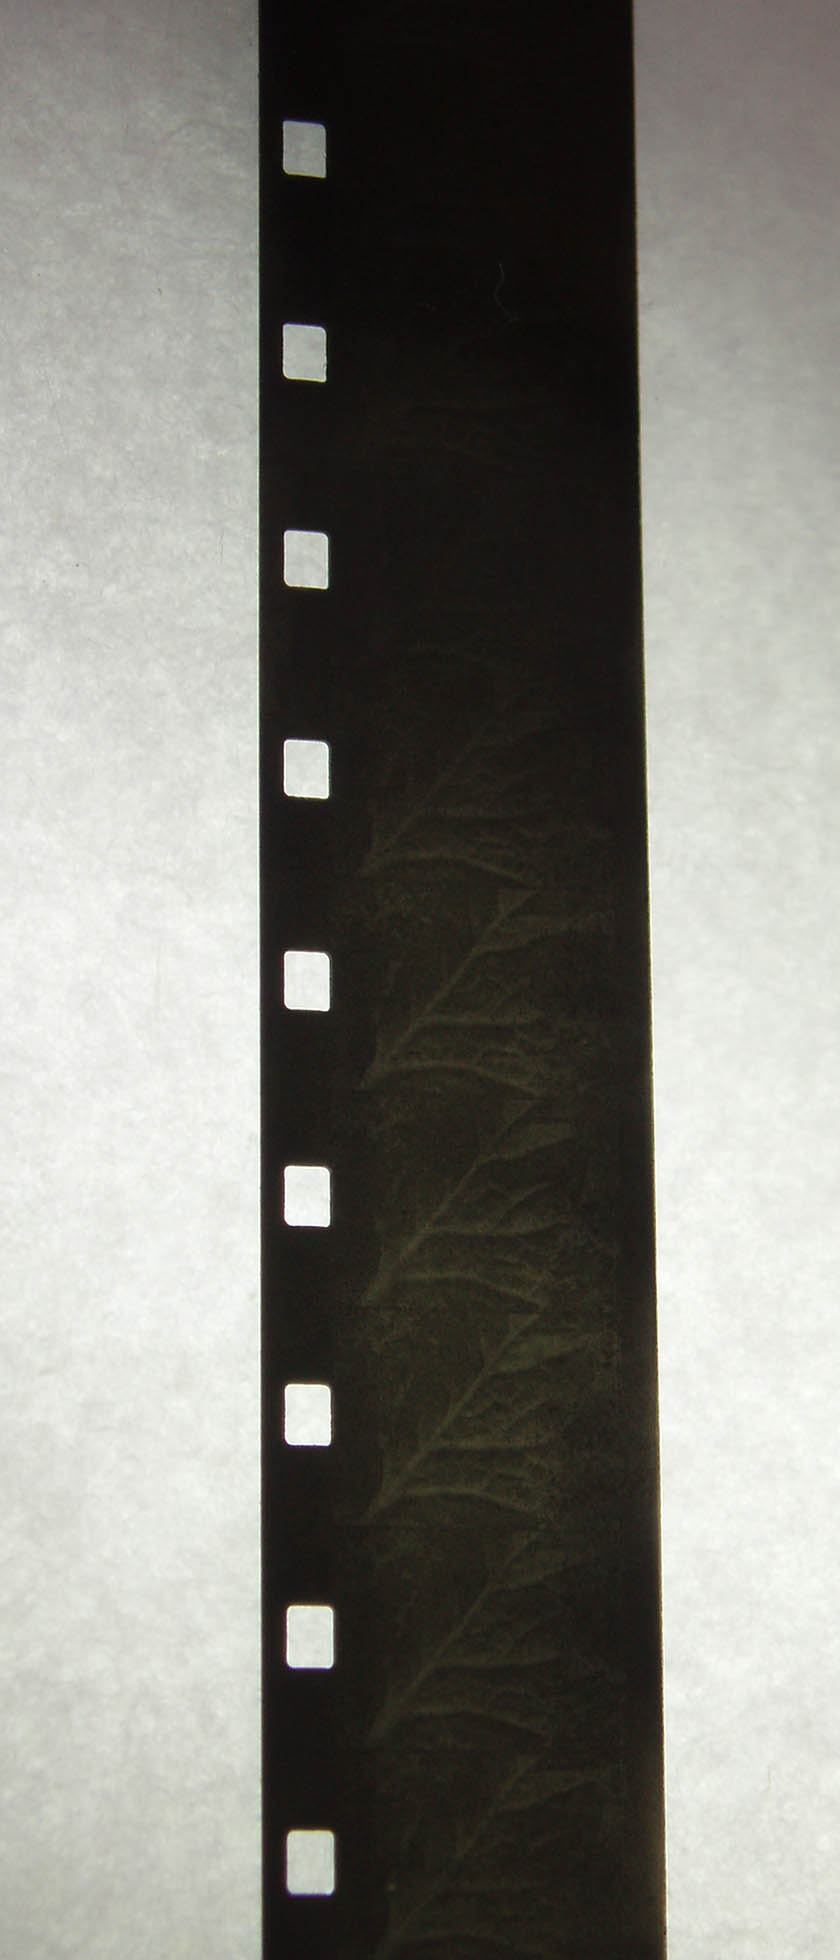
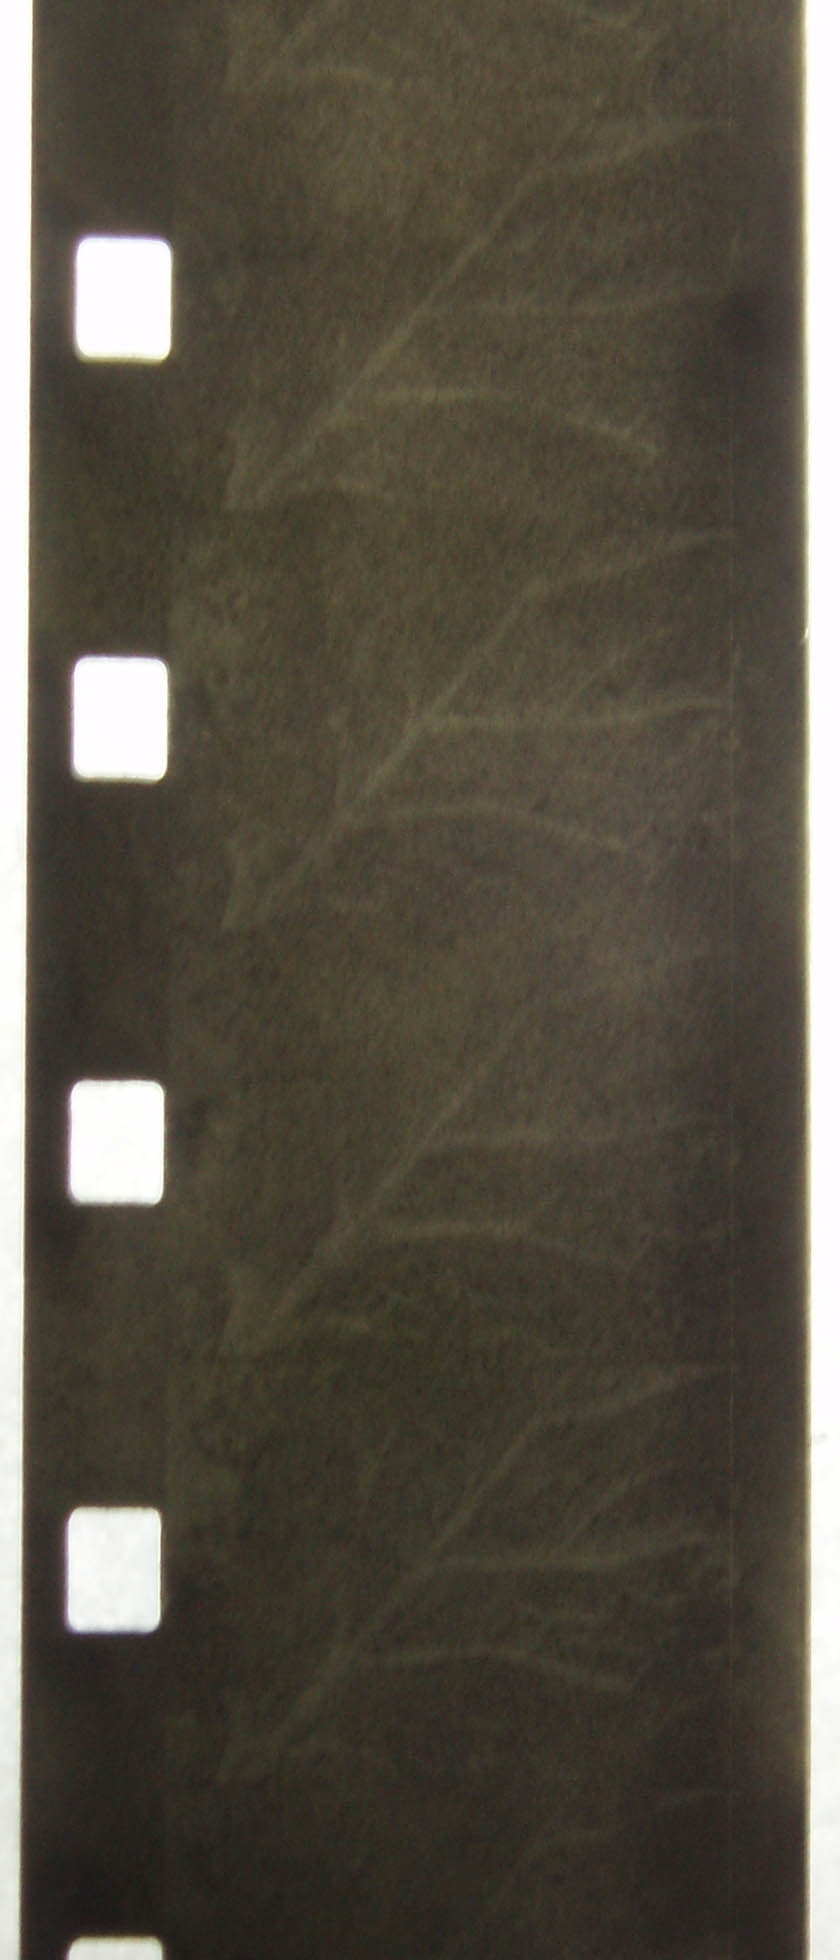
Image developed further away from the centre of the lomo reel. I also scratched the film a bit.

Image developed closer to the centre of the lomo reel. Something is trying or was trying to come through, but it is very dense and flecky.
This next test I bumped the vinegar to 90ml, to make the bleach more stable.
220ml 35% H2O2
700ml H2O (water)
90ml of 5% acetic acid (vinegar)
I also modified Dev 2 in time and temperature:
Dev 1 for 20 min @ 40°C
Dev 2 for 4 min @ 38°C
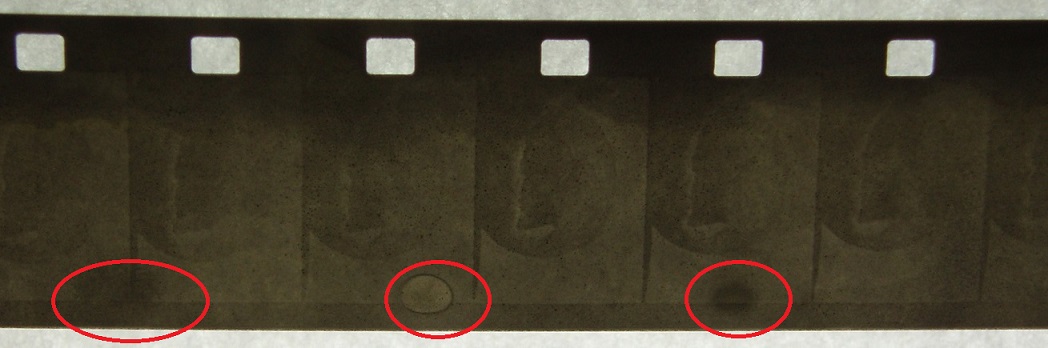
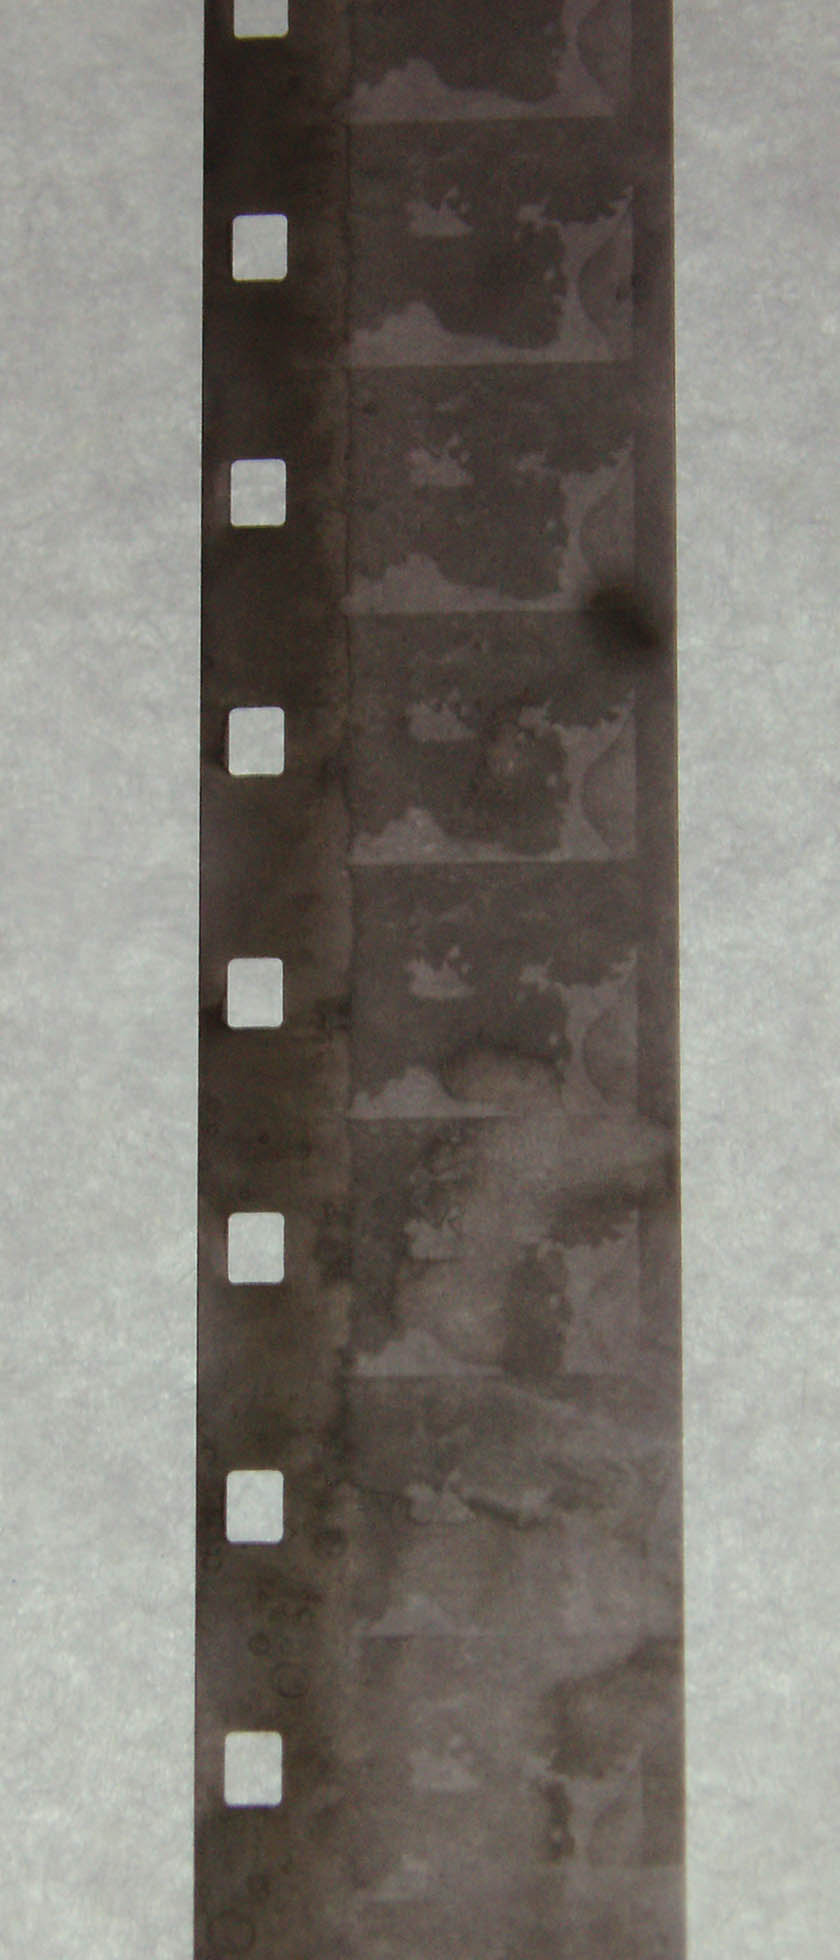
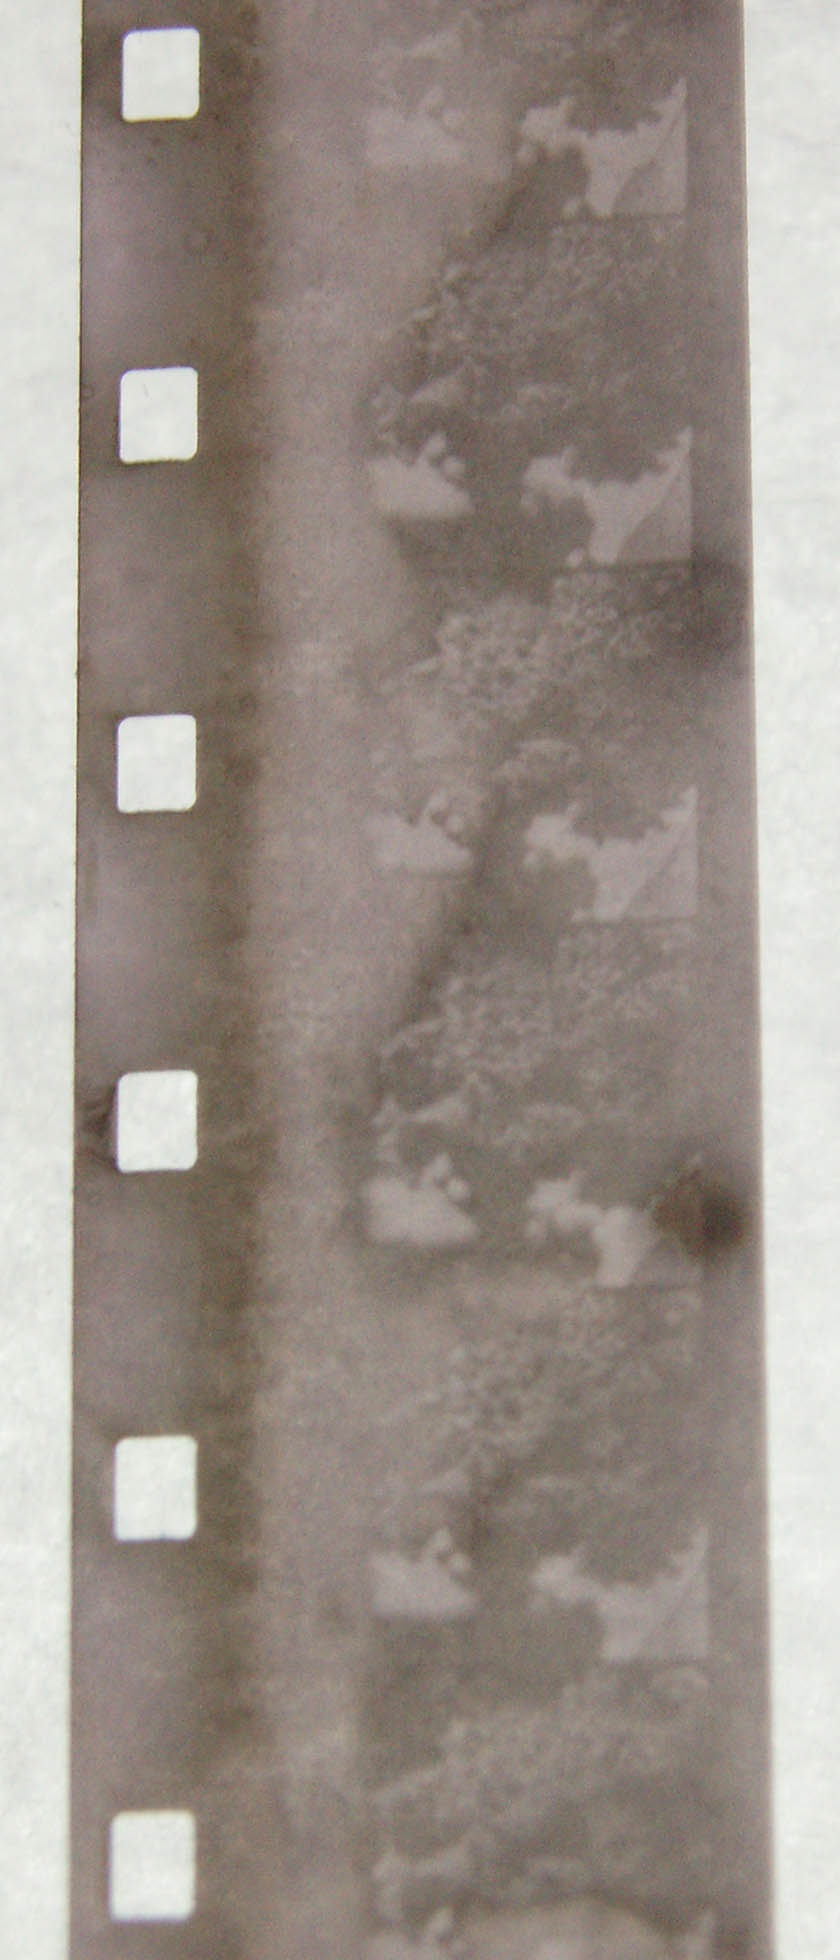
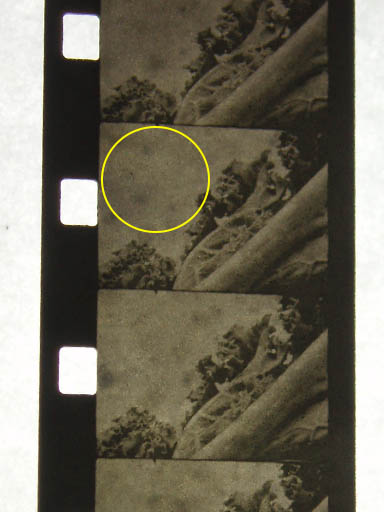
The image reversed, and it is not too thin; I suspect this is because Dev 2 was much shorter. There is also some strange splotching going on. These photos are from the same test. These photos progressively get closer and closer and provide some interesting visuals.
Perhaps the splotching was caused by the unevenness in the developer, or the bleach, or perhaps it was unevenly exposed to the light?
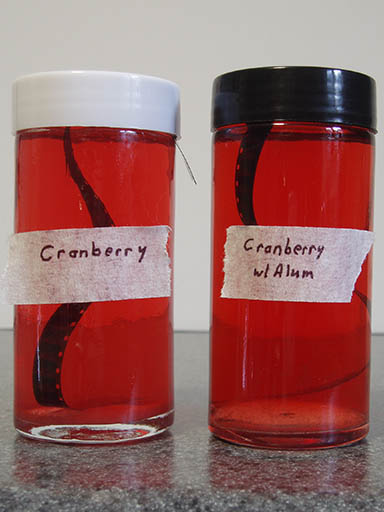
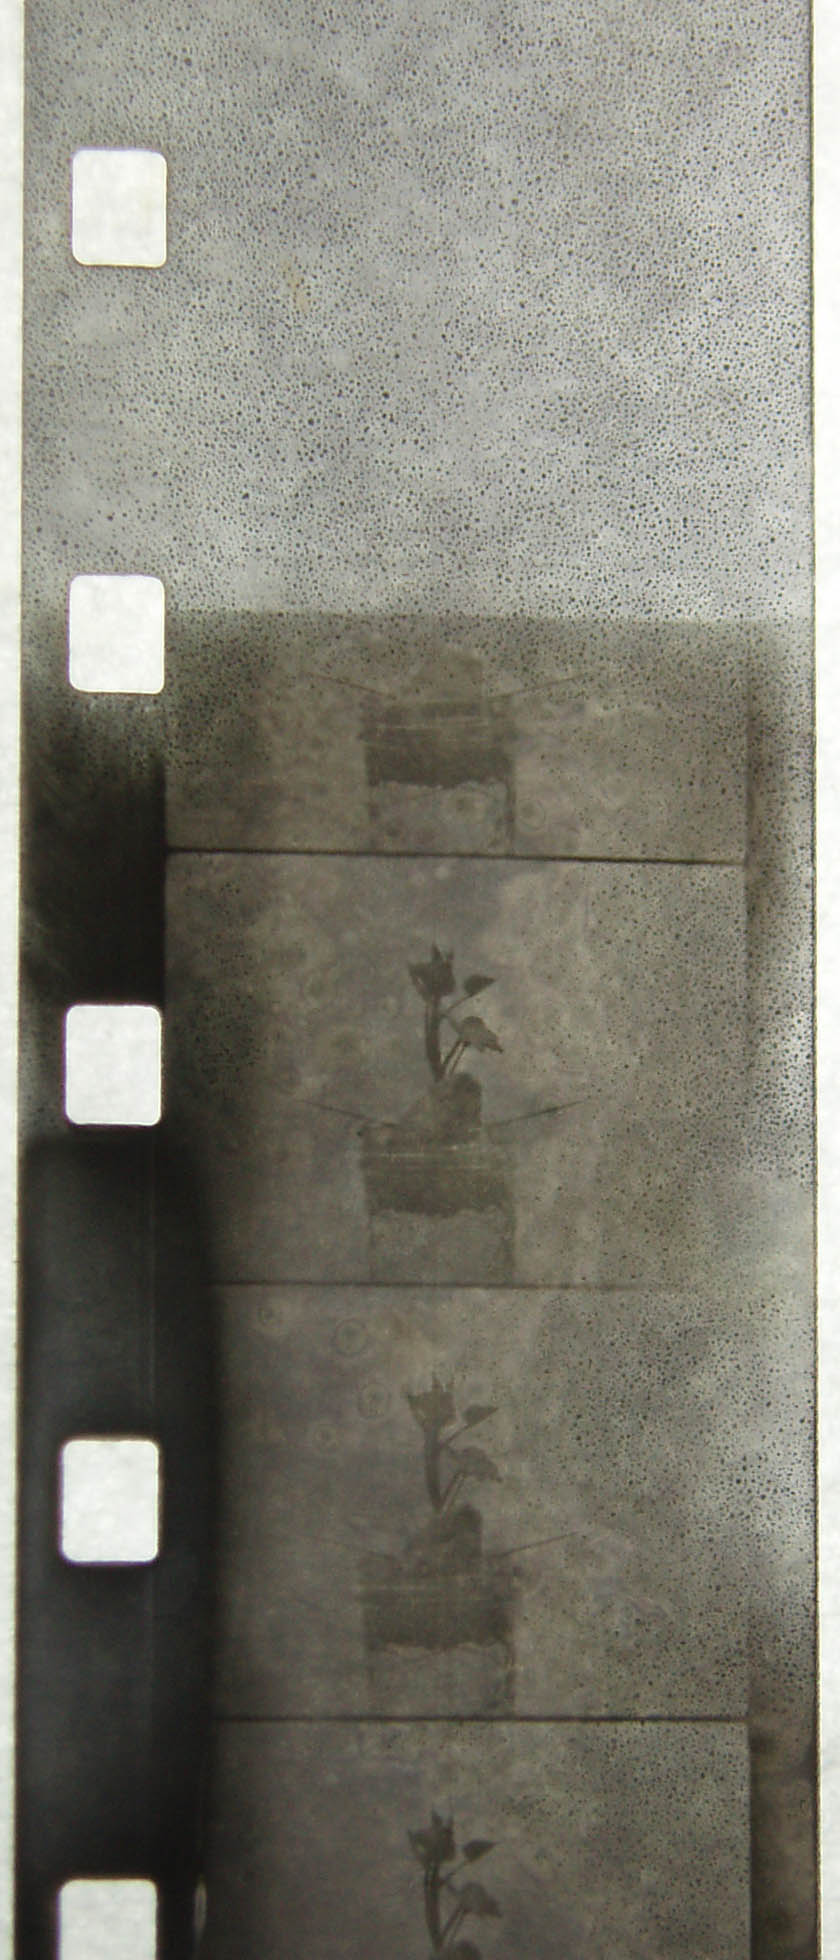
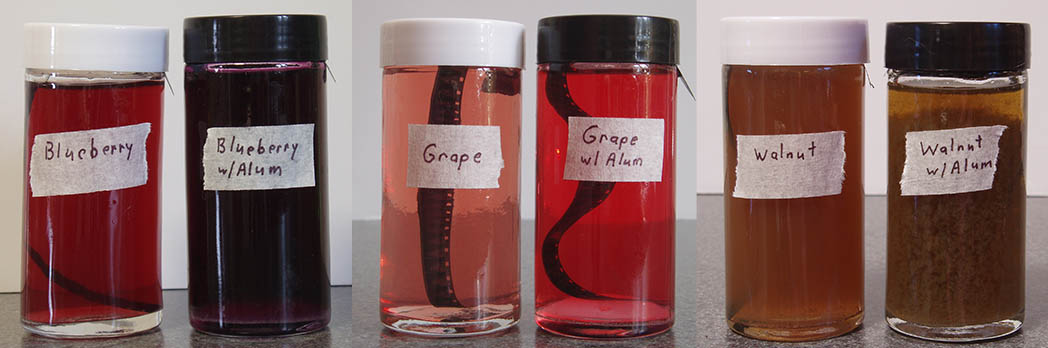
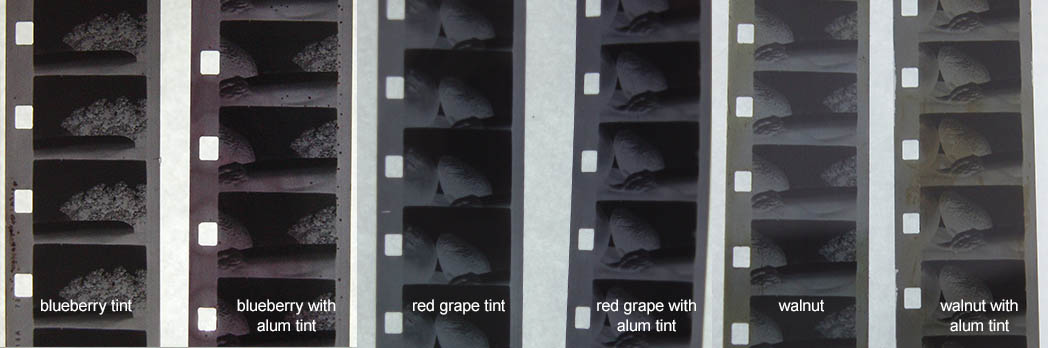
These are the tint test results for cranberry. It was tinted for 3 days and 7 hours. The photo shows the tinted and non-tinted film, without and with alum. The tints looked similar in the jars but not on film. The alum tint is a bit pinker and denser.

March, Ides 2018
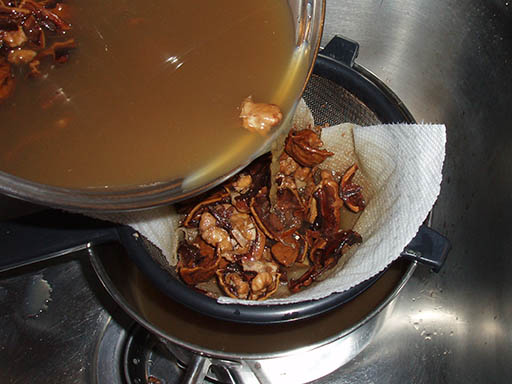
Walnut
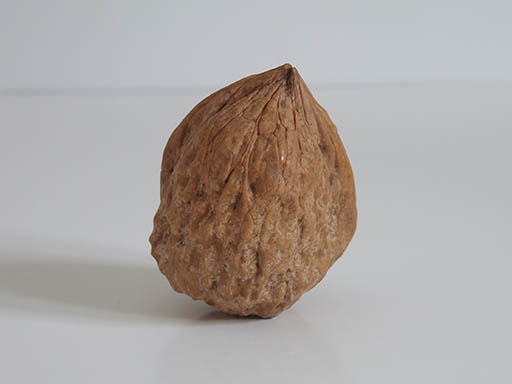
The phenol data for walnuts is all over the place. Depending on what studies I look at, sometime the levels are crazy high 1574mg/100g and sometimes they are lower 28mg/100g, not sure why? Perhaps some of the tests included the shells and others didn't? For my purposes I am using the shell and the meat inside. The walnuts were purchased in December - can a walnut rot, or loose phenols like weeds do over time?
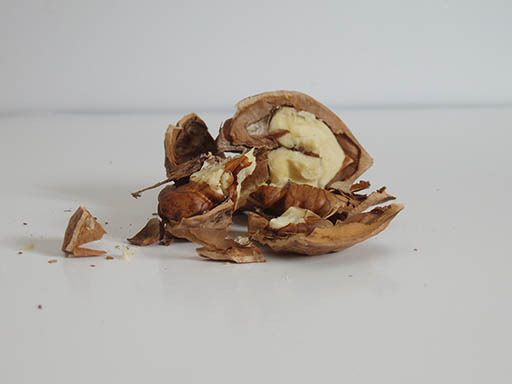
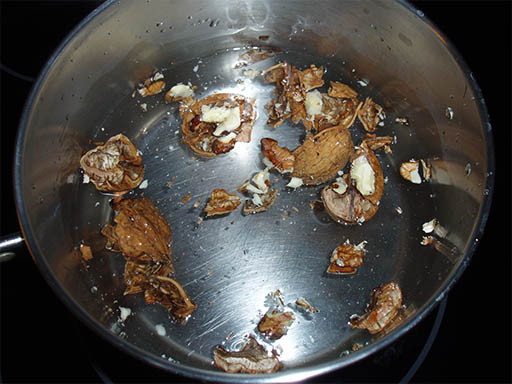
For the first test I cracked 4 walnuts and boiled them in 1.5 litres of water to start. The first test is always a big unknown. I am basing the first recipe on the asparagus recipe - 1 litre of walnut tea, with 80g of washing soda, and 20 g of vitamin C. I am also going to be reusing my water washes/rinses. Up until now I have been using fresh water for each rinse between steps. This will save on water but how will it affect the developing process?

Some walnut developer tests
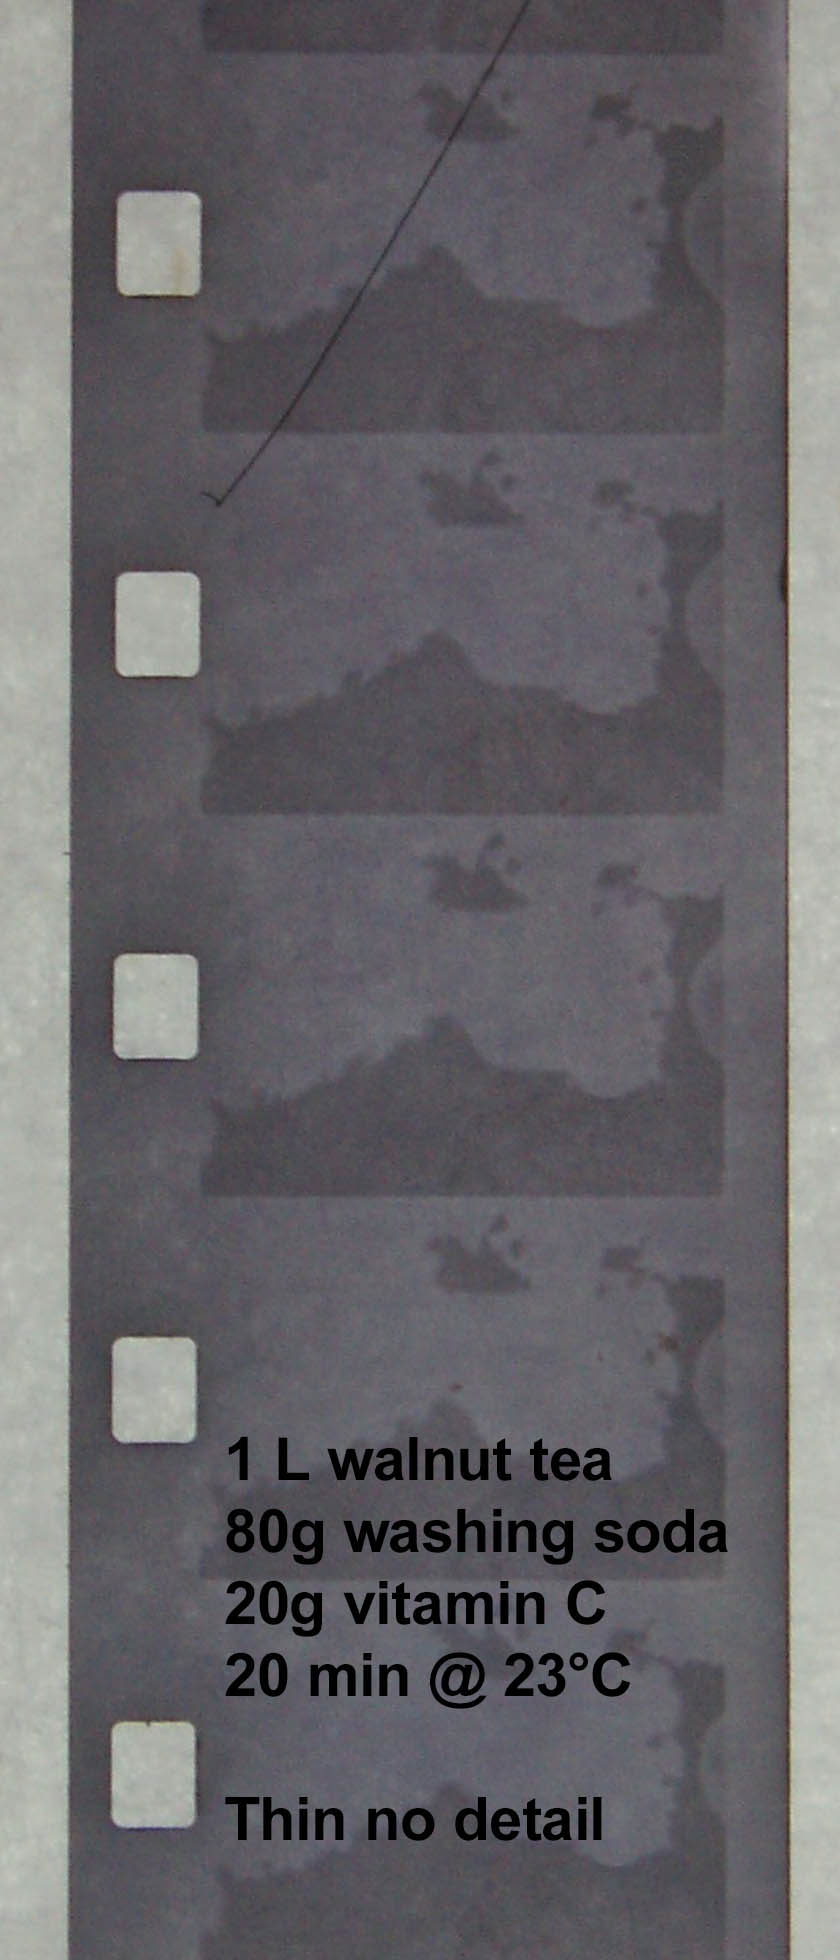
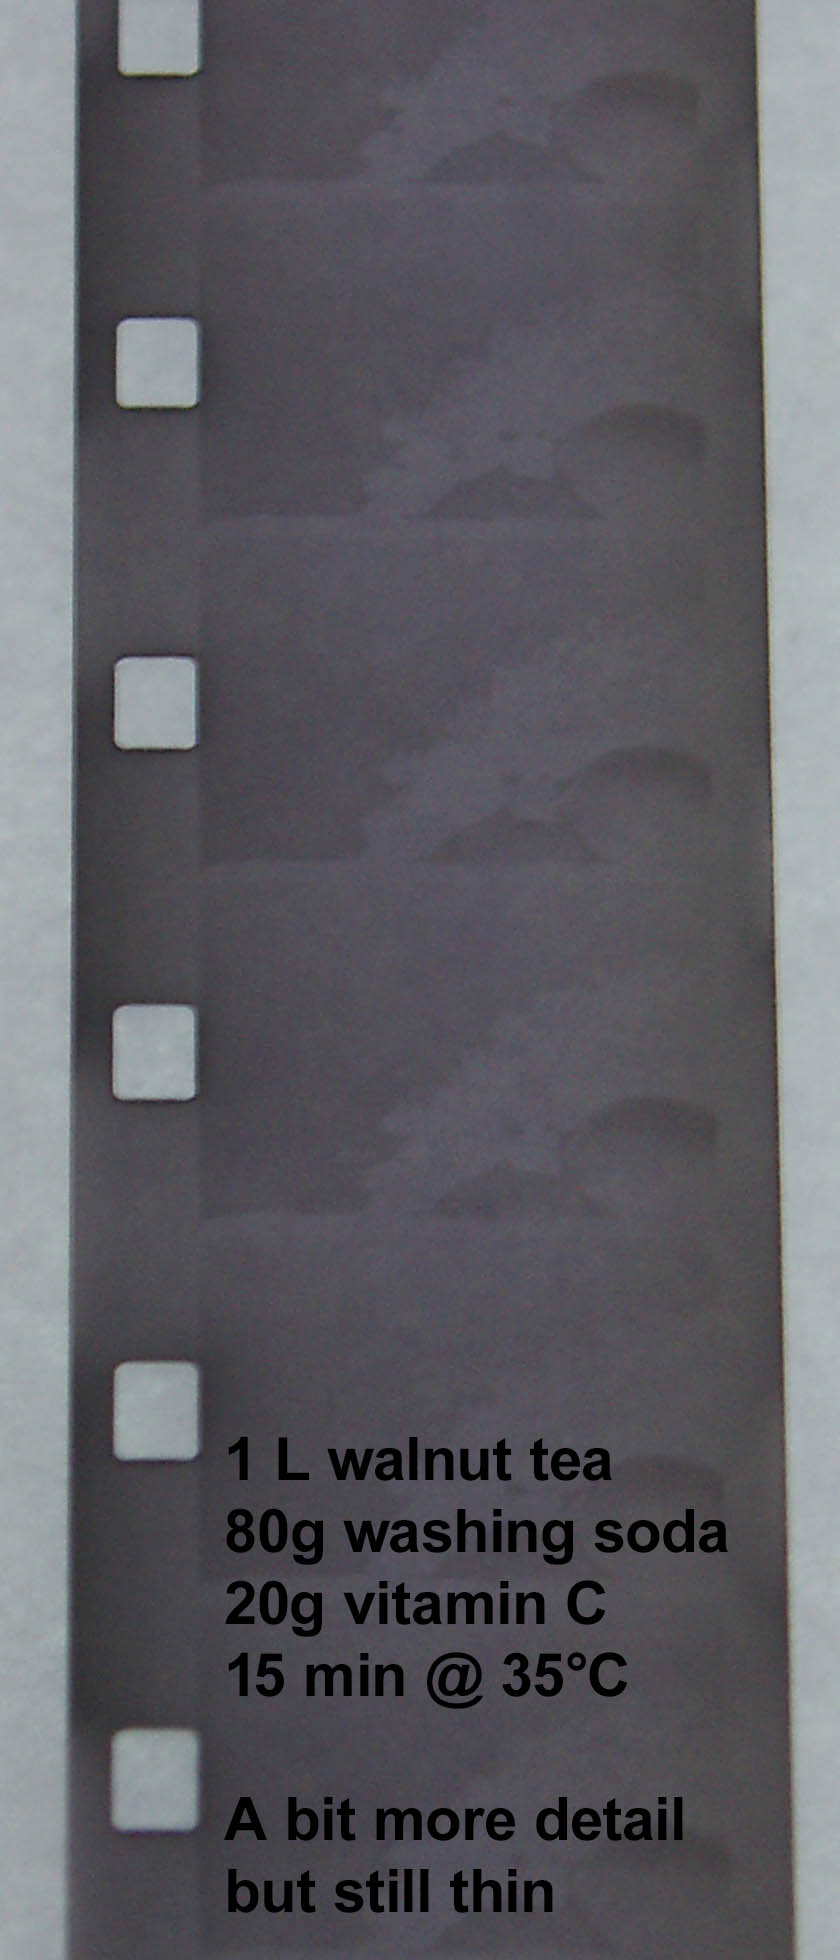

I am beginning to “hear” the film again or more correctly the developer. From the first walnut test to the second I "knew" if I wanted get more detail in the film, the developer needed to be hotter. In the second test, I got more detail (you can see it in the shading of the sphere object). For the third test, I kept the temperature the same but increased the developing time and got some good results. The reason the sprockets are not as developed is because the sprocket side is where the spirals hold the film in place inside the lomo tank.
A Walnut Reversal Test
Even when I get a good developer, the reversal never seems to work out exactly as planned. This could be because the bleach needs to be stronger or work longer or perhaps maybe I am over bleaching. The second dev is also very hard to figure out, because I can’t really see my tests strips well in the lomo tank, I know I don’t have to use the second dev very long, but I don’t want to over develop either. I am also noticing that the film in the outer spirals of the lomo tank are much more balanced than the inner ones which appear burnt. Do I have to pour the chemistry in slower as to not burn the film, or is the film being agitated too much or not enough at the centre resulting in the uneven developer. So many questions.
film strip further away from centre of lomo tank
magnified image

this film strip was closer to the centre of the lomo tank, not as much developing occurred
I decided to stop, think, read, and research.
I discovered a six-part web series on YouTube on photographic reversal processing by Joe Van Cleave where he documents his experiments with reversal. Joe is using citric acid instead of vinegar. Joe has been getting some of the same blotches that I have. His are primarily caused by how the paper curls in his developing tank and the chemistry reacts with it. He also had some of the fleck that I had with my kale experiment. It was nice to know that we both thought it was due to the stability of the bleach.
Joe also went through an exploration of exposing his film to light or “flashing” the film under different conditions. He now only flashes the paper for few seconds, I have been doing it for any where between two and three minutes. It looks like I need to test this out as well.
This also lead me to a very good photographic reversal on-line forum at apug.org The cool, circular images I got on the film in January; were caused by the organic material working with the eco-bleach. The bleach releases CO2 bubbles (see February’s yam experiments) the bubbles get caught in the spirals - probably hung up on organic material or in the device itself. These bubbles form throughout the process, they also move around, pop, and then form again it creates this beautiful circle effect. I also read that, “you cannot over bleach,” trying to find more evidence of this statement but I may just have to test it out myself, with caffenol.
Creatively, I also made a discovery. As I was reading the on-line forum I got the sense that they (and I) were all striving for the same thing – the perfection of this eco-bleach. But it is the imperfections that I really am drawn to; the flecks, the splotches, the shading, the fading. Of course, I want an image of some kind to be there, but I don’t need it to be perfect – because if I di,d wouldn’t I just get it developed at a lab or with conventional chemistry. What I have been failing to realize is that this IS what each plant WANTS on film. It is not what I want, my job is to give it the best possible environment for each plant developer to realize its full potential. I am not truly in control the plant is. I was yet another example of a human wanting to control nature…again. Not any longer.
My job is give you the best possible circumstance for each plant to realize its potential and then let it do its thing.
Plant, film - I am at your service.
March 20, 2018
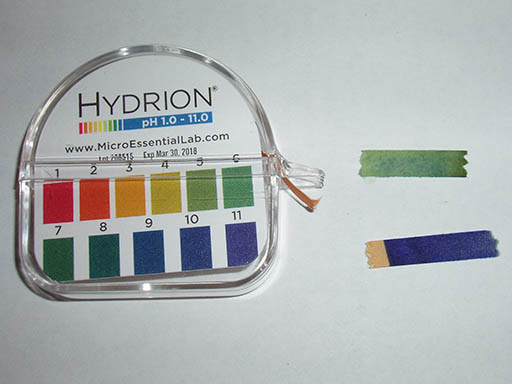
Reversal Bleach Comparison
Acetic Acid vs. Citric Acid
Up until this point I have been using 5% Acetic Acid (Vinegar) as one of the ingredients in the reversal bleach and well...the reversal bleach has had some mixed results.
I wanted to do a few tests to compare a reversal bleach with vinegar (acetic acid) and a reversal bleach with citric acid. Now, I'm not exactly comparing lemons to lemons here (ha-ha), as the Caffenol Reversal Bleach #1 is at 9% H2O2 and Caffenol Reversal Bleach #2 is made with 14% H2O2.
For each of the below experiments I used the standard caffenol recipe for Dev 1 and then reused it for Dev2.
Bleach
220ml H2O2 (hydrogen peroxide)
700ml H2O (water)
80ml vinegar (acetic acid)
| Step | Time | Temperature |
|---|---|---|
| Water wash | ||
| Dev 1 | 15 min. | 22°C |
| Bleach | 10 min. | 38°C |
| Wash | ||
| Flash Light | 45 sec. | |
| Dev 2 | 4 min. | 21°C |
| Wash | ||
| Fix | 6 min. | |
| Final Wash | 10 min. |
This time I decided “flashing” the film in the almost literal sense. Instead of exposing the film to light for anywhere up to 3 minutes. I exposed it for only about 45 seconds. This idea was based on reading blog posts and assessing the film as I was working with it.
I also decided that Dev 2 would also be shortened to 4 minutes. After exposing the film to light I closed lomo tank and then checked it every minute or so. The film was washed it twice before fixing (because caffenol tends to gunk up the fixer) and then conduced the final wash for 10 minutes.
The film has nice exposure, good highlights and shadows, and not very much flecking at all. There was a bit of fogging, but it was pretty much picture pages perfect. There is some nice splotching going on (circled).
The next tests was for citric acid, because I didn't have much of this ingredient I made a 1/2 litre recipe or 500ml.
Caffenol Reversal Bleach #2 with Citric Acid
Bleach
200ml H2O2 (hydrogen peroxide)
300ml H2O (water)
13.5 g of citric acid (this ingredient is in crystals) (acetic acid)
| Step | Time | Temperature |
|---|---|---|
| Water wash | ||
| Dev 1 | 15 min. | 21°C |
| Bleach | 10 min. | 38°C |
| Wash | ||
| Flash Light | 55 sec. | |
| Dev 2 | 4 min. | 21°C |
| Wash | ||
| Fix | 6 min. | |
| Final Wash | 10 min. |
Again a pretty quick flash and Dev 2.
Again, for a very detailed image the film had good highlights and shadows. This film had the very tiny little dots on it this time instead of the big splotches.
In this first photo you can really see the tiny dots in the exposed and non-exposed film
The dots are still there just not as pronounced.
The left frames have some shadowing going on.
There are some differences between acetic and cirtic acids.
Acetic Acid
Vinegar
Monobasic (1 replaceable hydrogen atom)
Boils at 188°C
Molar mass 60g/mol 2.5 - 2.7 pH
Citric Acid
Citric found in citrus fruits
Acid Tribasic (3 replaceable hydrogen atom)
Boils at 310°C
Molar mass 192g/mol 3.2 pH
Below are the two films side by side. You can see a bit of fogging.
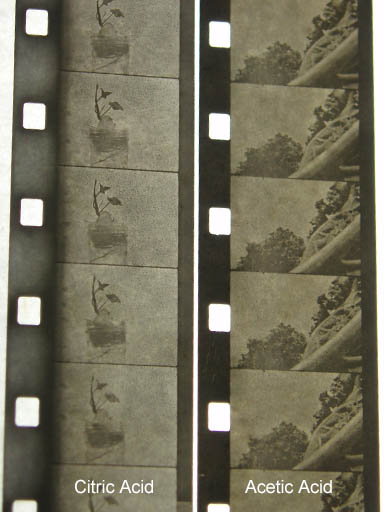
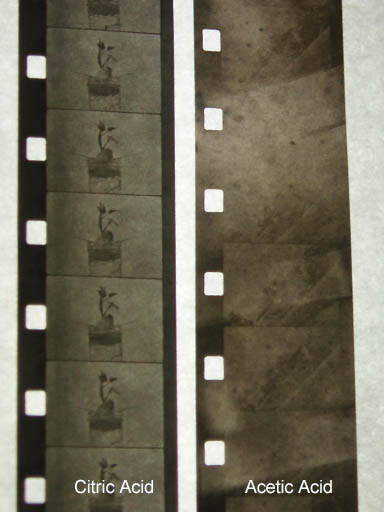
There are pros and cons to using each bleach but the fact that vinegar is much cheaper than citric acid and that fact that I don't have to use as much H2O2 is making me want to use the acetic acid going forward.
Another reason I think that the eco-reversal bleach is having better results is because I am shorting the light exposure (flash) and Dev 2. Both these bleaches work great with caffenol, but caffenol is also a consistent developer, going forward it is nice to have a second bleach recipe so that if something isn't working I can try it out with the other citric acid bleach. The citric acid bleach may work differently with different plant based developers.
March 23, 2018
Blueberry, Red Grape, and Walnut Tints
This week, I also took out the Canon 1014 and filmed some more "in season" fruits and vegetables. For the first time ever I got a bad cartridge of super 8 - the film just broke in the camera. The camera registered a message "END" meaning end of roll but I had just started shooting. Sometime film breaks, I guess. Glad I didn't loose much footage.
March 30, 2018
More Walnuts
After the bleach experiments with the acetic acid and citric, I got to hypothesising that maybe some eco-bleaches work better with different developers. But what those kinds of developers are or why they work are still a mystery. I started taking a chemistry course this week, I hope that through re-familiarizing myself with the principals of chemistry, some concepts will stand out and shed a bit of light on many of the questions I am having.
Despite the above hypothesis, I proceeded with the acetic acid bleach for the walnut reversal.
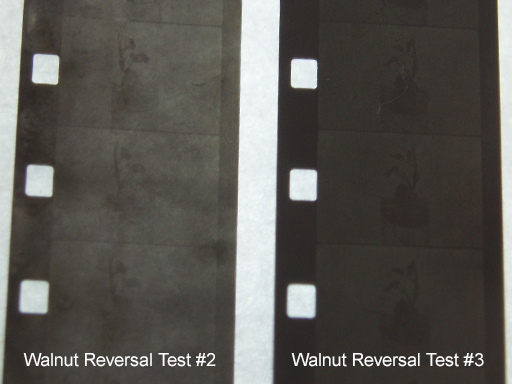
Walnut Reversal Test #2
| Step | Time | Temperature |
|---|---|---|
| Wash | ||
| Dev 1 | 27 min. | 35°C |
| Bleach | 10 min. | 38°C |
| Wash | ||
| Light | 50 sec. | |
| Dev 2 | 4 min. | 35°C |
| Wash | ||
| Fix | 6 min. | |
| Final Wash | 10 min. |
Walnut Reversal Test #3
| Step | Time | Temperature |
|---|---|---|
| Wash | ||
| Dev 1 | 29 min. | 35°C |
| Bleach | 10 min. | 38°C |
| Wash | ||
| Light | 45 sec. | |
| Dev 2 | 6 min. | 35°C |
| Wash | ||
| Fix | 6 min. | |
| Final Wash | 10 min. |
Increased time on Dev 1 and Dev 2
A slight decrease in the light exposure (flash) but I don't think this had significant results.
I increased the time for Walnut Reversal Test #3 because I was reusing the developer and bleach from Walnut Test #2. The reason for this is that I am running out of walnuts for the tea and it doesn't look like I'll be able to source anymore for a while (at least late autumn). Developer can become exhausted but by increasing the temperature my hope was to make it last a little longer. I was fairly happy with the results and decided to use a combination of the time times of Walnut Reversal Test #2 and #3 with a fresh batch of Dev and the same bleach to develop a half a roll of walnut footage in the walnut developer.
The first test was an epic fail.
Not a good reversal - I suspect because I let the bleach sit for a day and it became exhausted or it was already exhausted from the previous tests. I should have used fresh bleach.
So, I tried another test.
Walnut Reversal Test #4 used fresh Dev and fresh bleach.
Considering all the obstacles I have been having with walnuts, this was a refreshing result. It is a little flat not a lot of detail, but perhaps this is all I am going to get from the walnut, maybe this is what the walnut wants to be right now, I have made my peace.
Except now, I am out of walnut. All I have this Dev, that I just used for the above one foot test; so I reused it and also decided to reuse the bleach.
This is what I got:
It is not what I expected or was hoping for but it has an ethereal quality, that I like. This is it. this is what the walnut wanted to be this time around...under these conditions.
I am finding that my small tests, are producing better results than when I process a half or whole roll. I guess it is to be expected that the chemistry interacting with a small amount of film is more potent than when it is interacting on a larger amount of film? I am sure there is scientific name for this kind of phenomena.
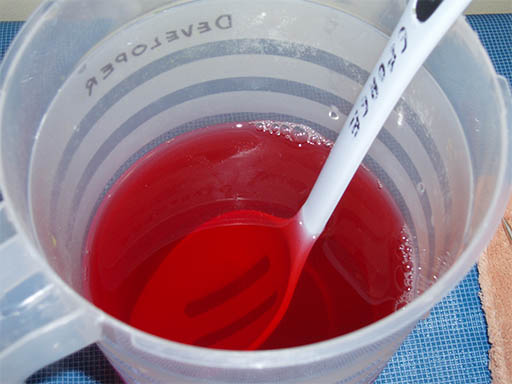
Red Grapes and Strawberry Inspiration/Realization
There is not much data on phenols found grapes but there is a tonne of data and studies done on wine. Perhaps red wine is more fun to research than grapes? Red wine has on average 216mg/100ml. There are many different varieties of grapes and some are better for juice or jam or eating or wine and I suspect they all have varying amounts and types of phenols as well. I am using red grapes as they are in abundance in the store right now. I thought I try a recipe like Dagie’s red wine recipe.
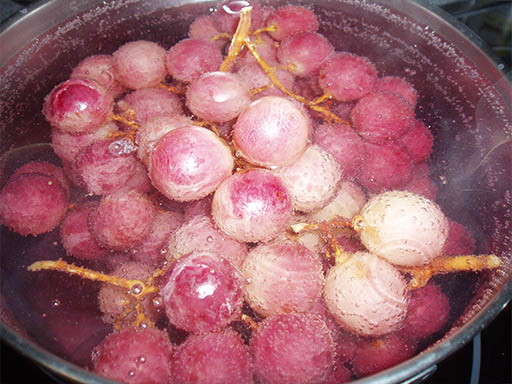
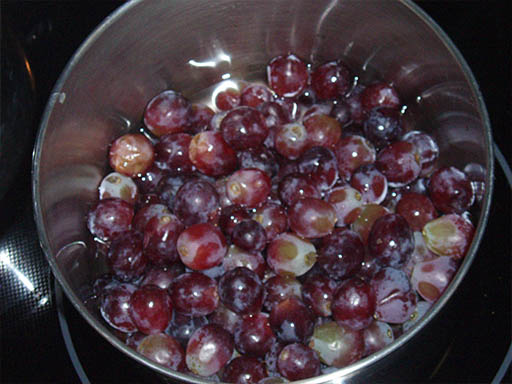
boiled grapes in water
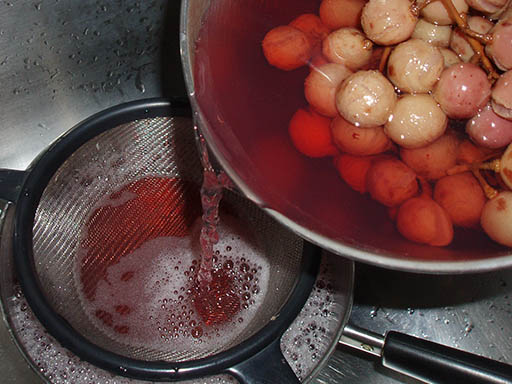
drained liquid...
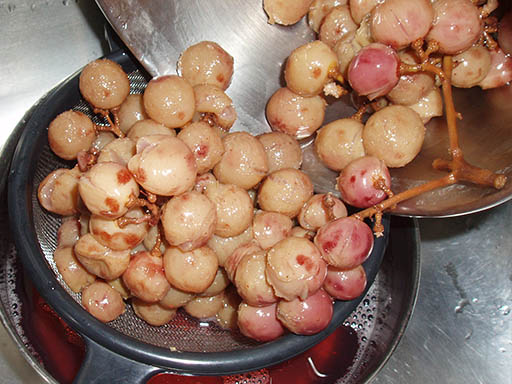
and all the colour from the grapes!
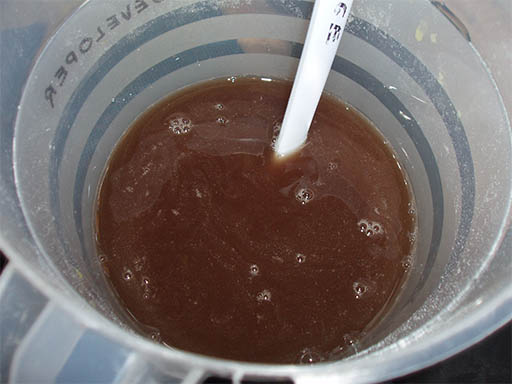
Grape Dev Test #1
1 L of grape tea
50g washing soda
15g vitamin C
20 min at 23°C
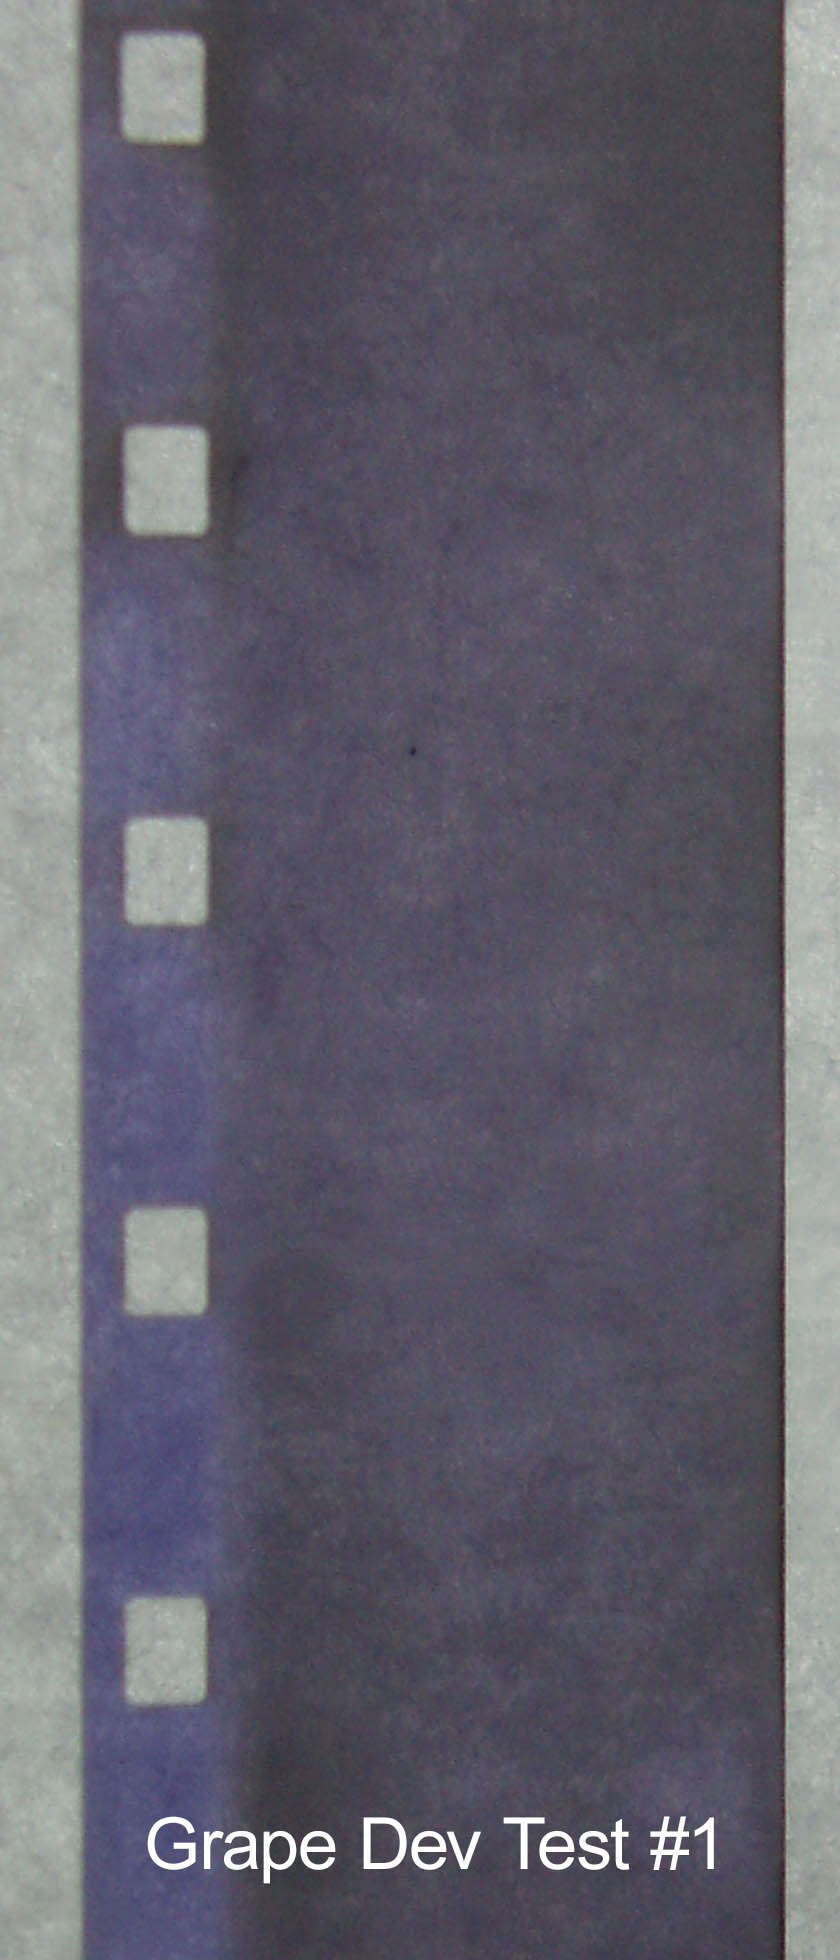
Grape Dev Test #2
500ml of grape tea
40g washing soda
10g vitamin C
20 min at 30°C
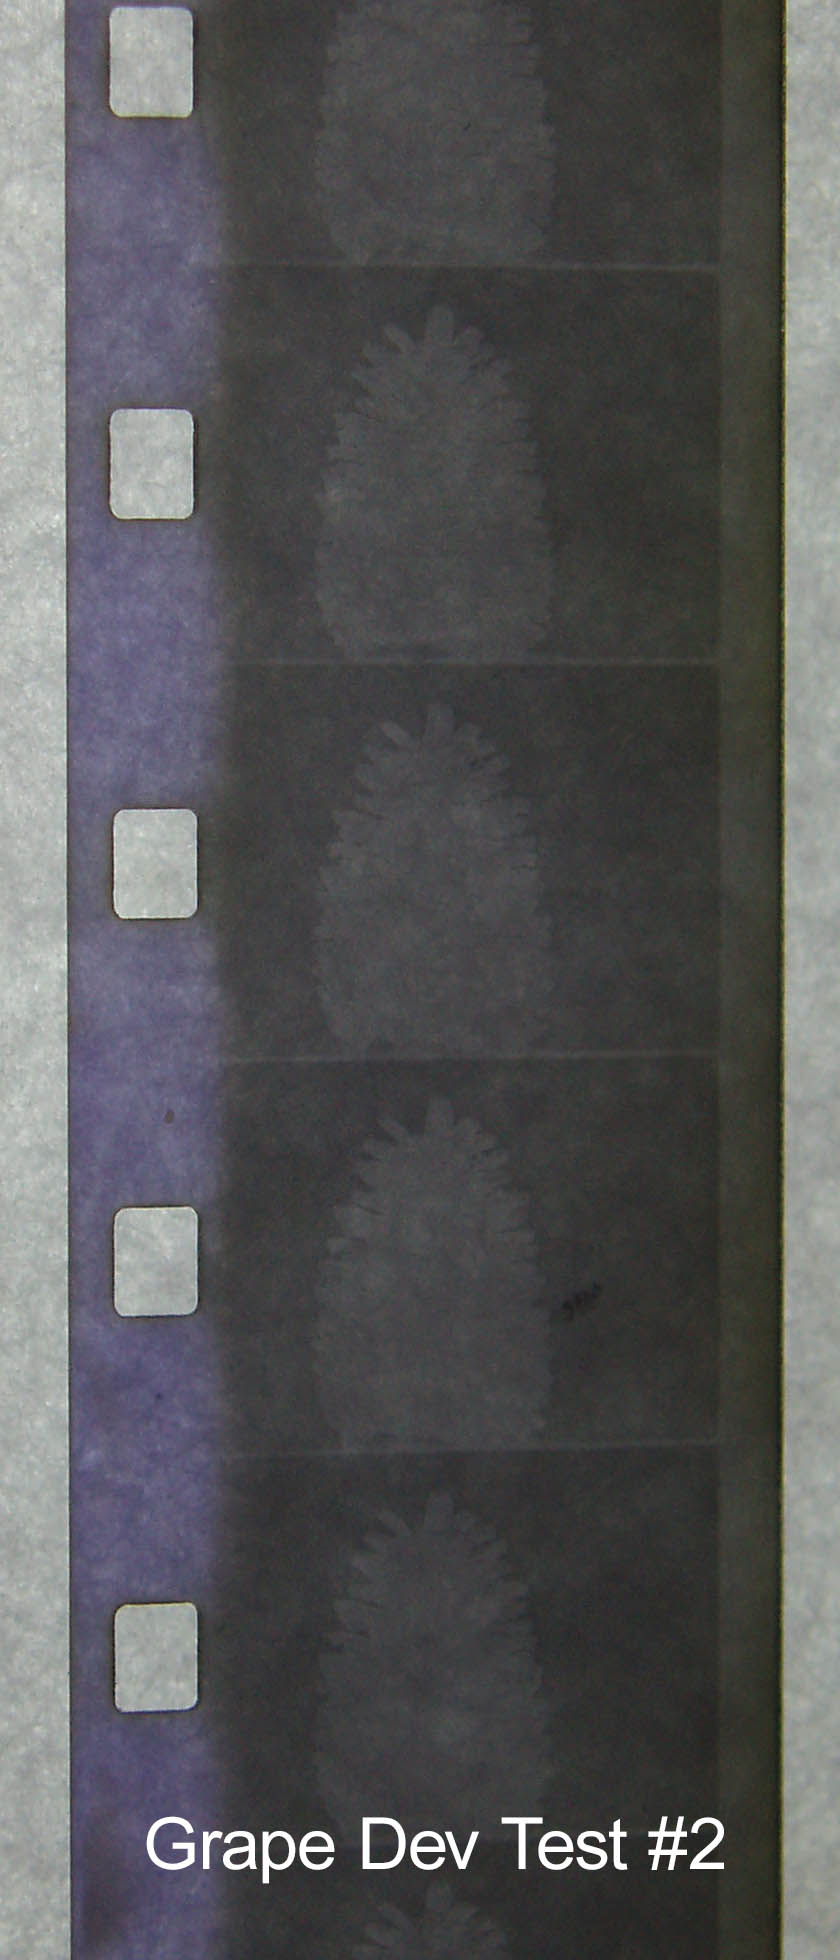
Strawberry Test #1
1 L of strawberry tea
80g washing soda
20g vitamin C
20 min at 33°C
Increasing the ingredient quantities and temperature had a significant effect between Grape Test #1 and #2. Then I processed a developer with strawberries, though Grape Test #2 and Strawberry Test #1 were almost similar in developing time and temperature and also in quantity of ingredients, the results made me think about water content in the two different fruits. There is a significant amount of water in a grape, perhaps the tea needs to be more concentrated to be effective.
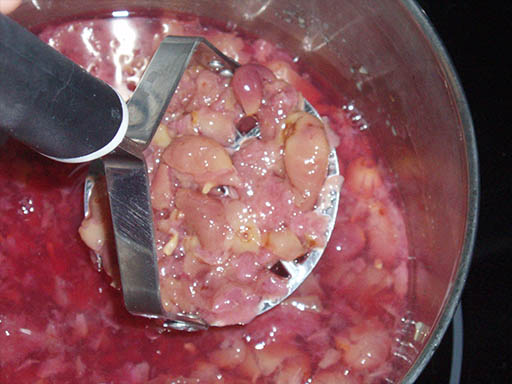
For the next test I decided to make a more concentrate grape tea. I counted out 150 grapes per 250ml of water. After the boiling it yielded 450ml.

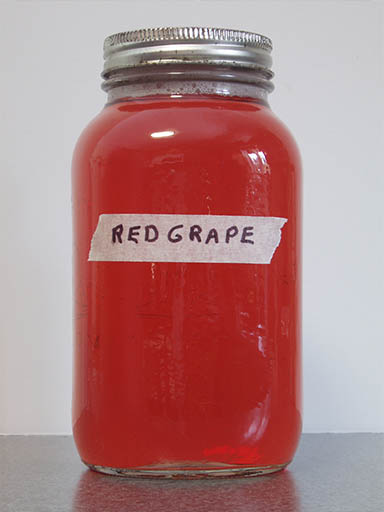
First Red Grape Tea
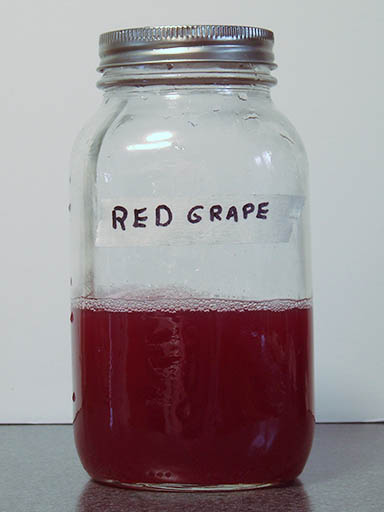
Second More Concentrated Red Grape Tea
Tests with the concentrated Red Grape Tea Developer.
March 31, 2019
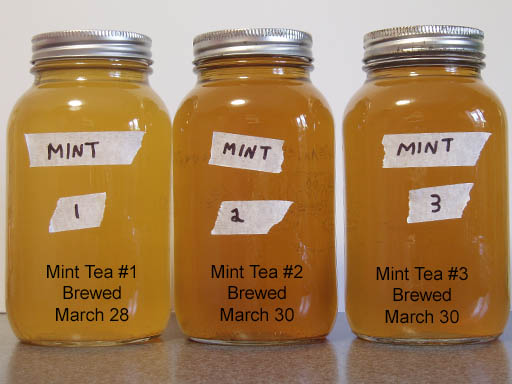
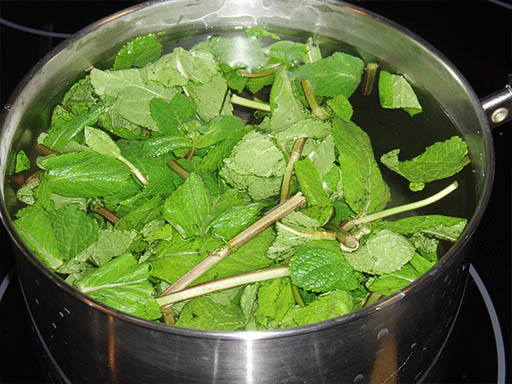
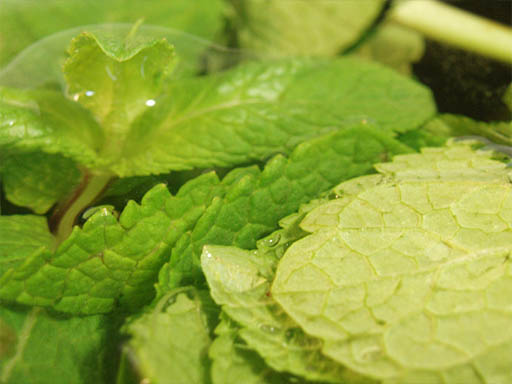
Mint
In one article I read, it mentioned that Dr. Scott Williams and his class conducted other experiments to determine the validity of alternative developers. One of these experiments was on mint. There are all different kinds of mint; peppermint seems to be highest in phenols but all I could source at this time of year was spearmint. Mint can be very strong when you boil it, it is best to leave a window open when making your tea.
 "
"
I prepped a couple of batches for the upcoming week. I noticed that the mint tea got lighter over time, it was left on the counter but not in direct sunlight. I decided to monitor it over a few days.
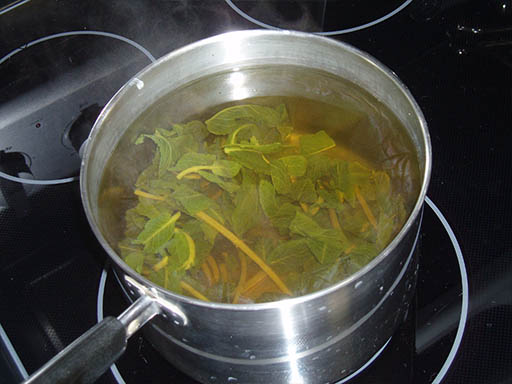
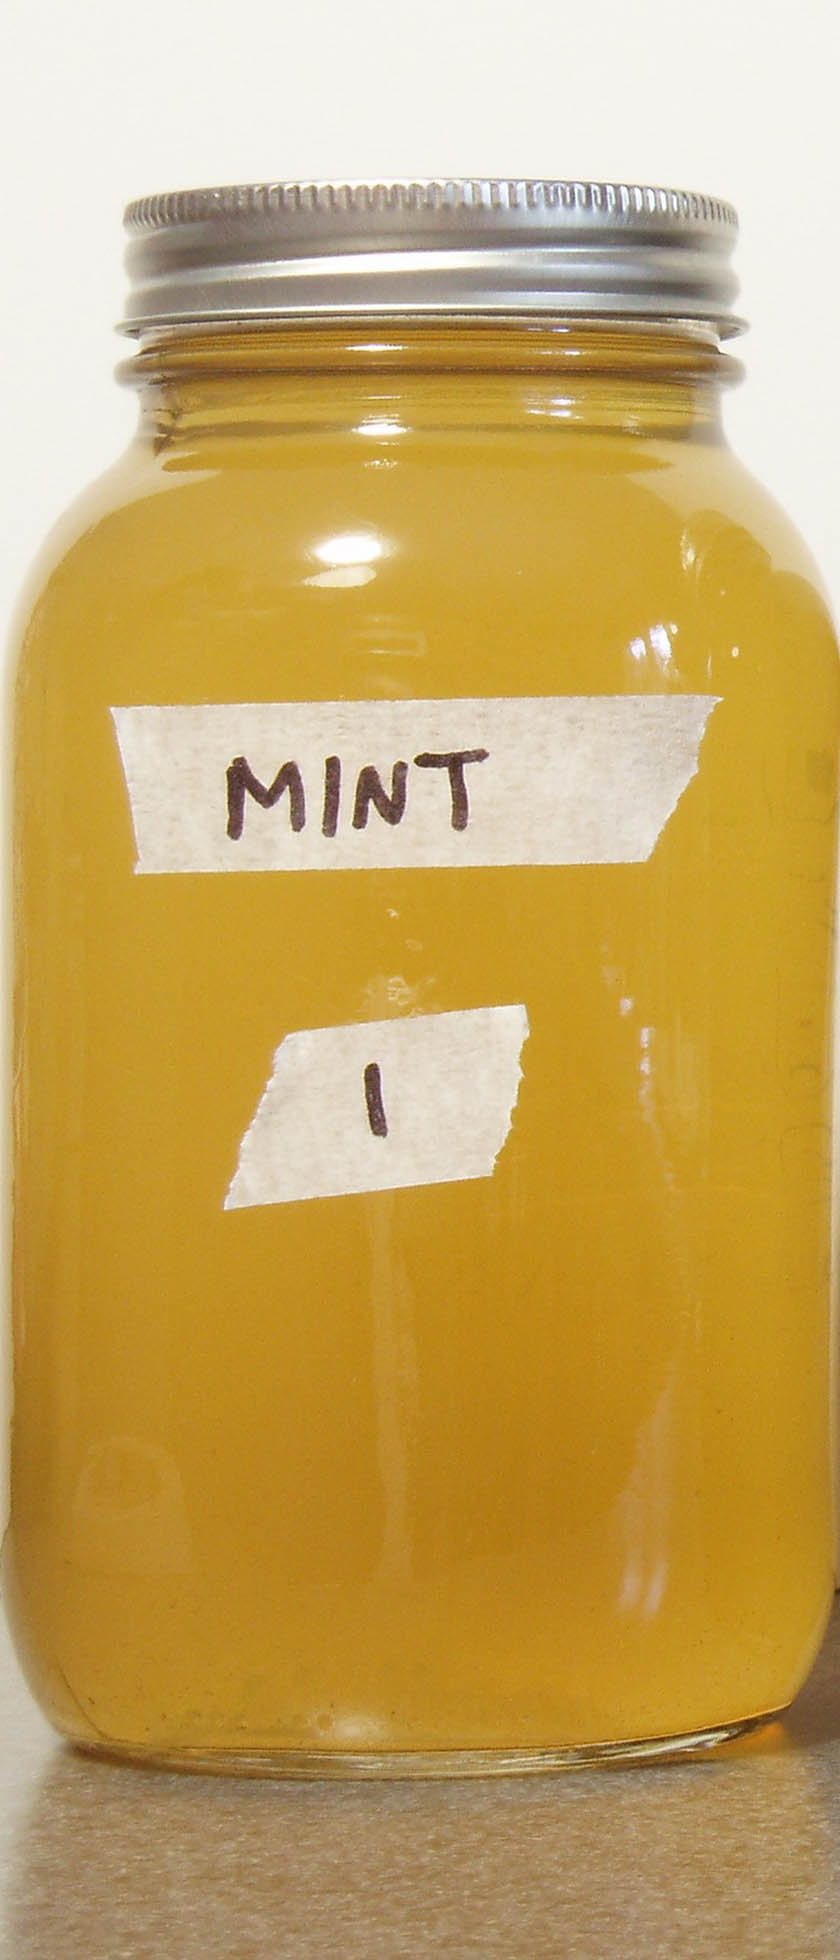
Mint Tea #1
Brewed on March 28
Same Mint Tea #1
Two days later on March 30
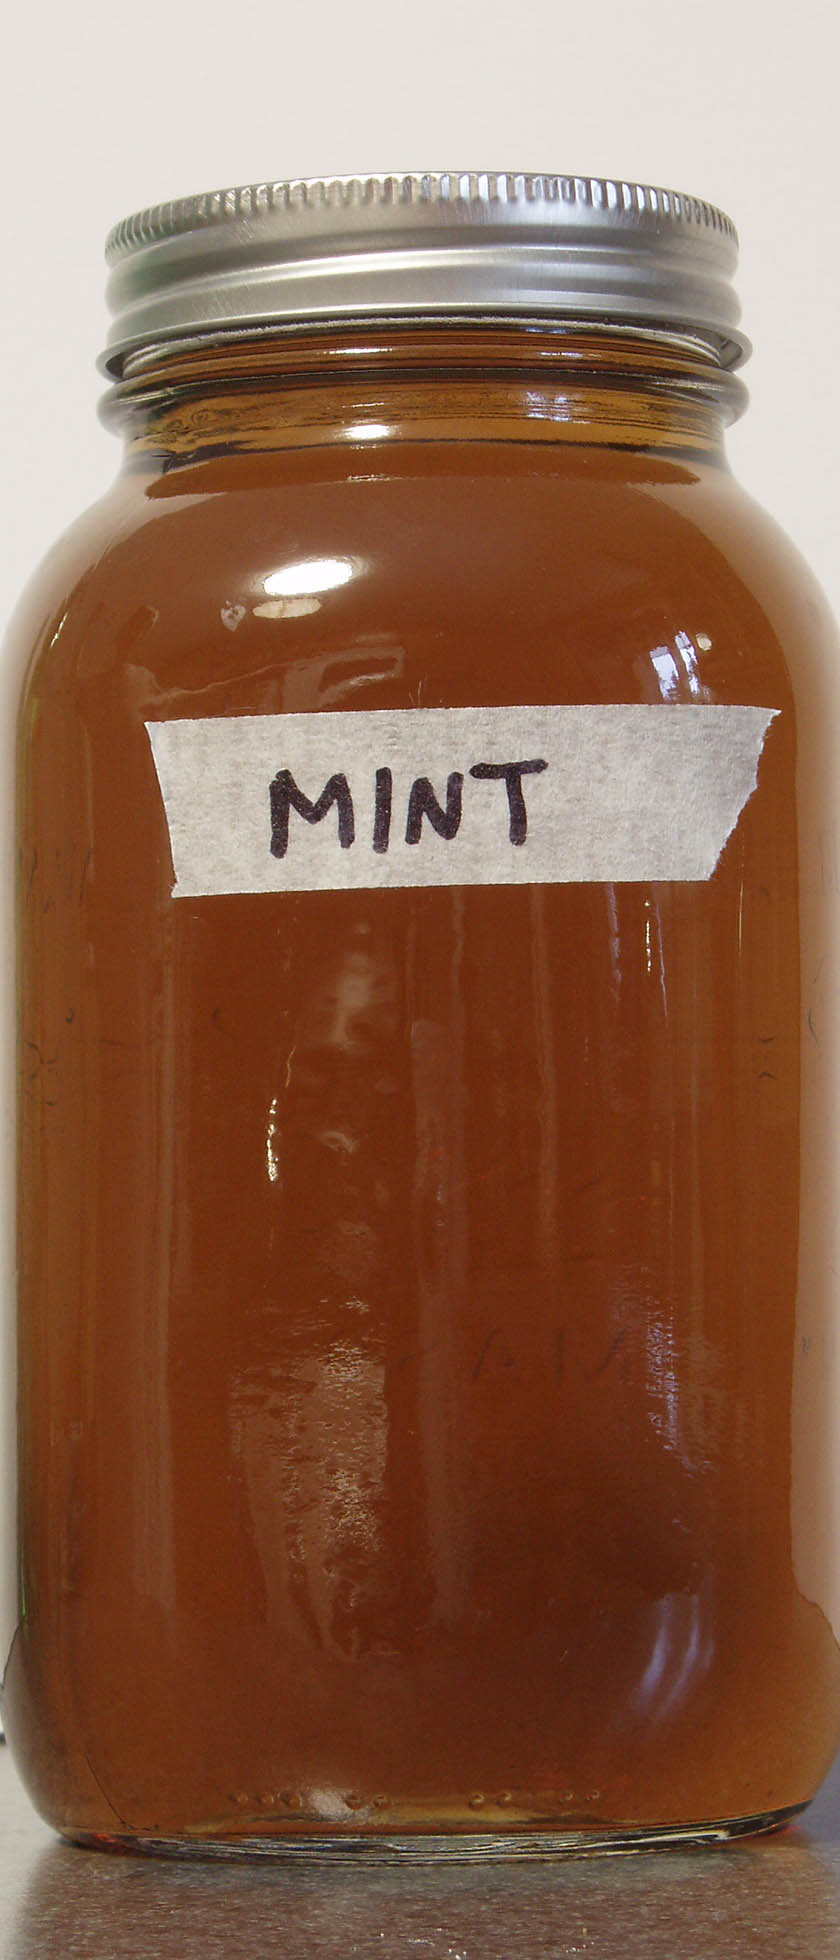
I decided to brew another batch and monitor it over a few days.
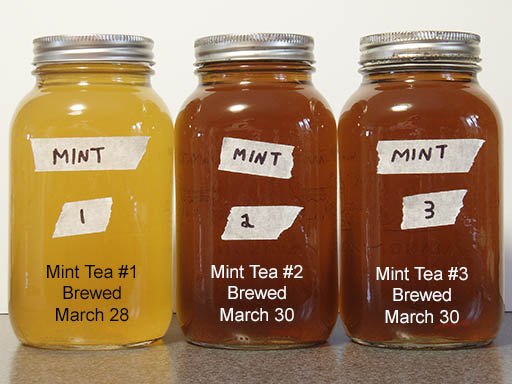
This photo was taken on April 3rd. The mint tea does change colour over time!
I am wondering what effects this will have on the developer. Only one way to find out..